Understanding User Interface of Investigations
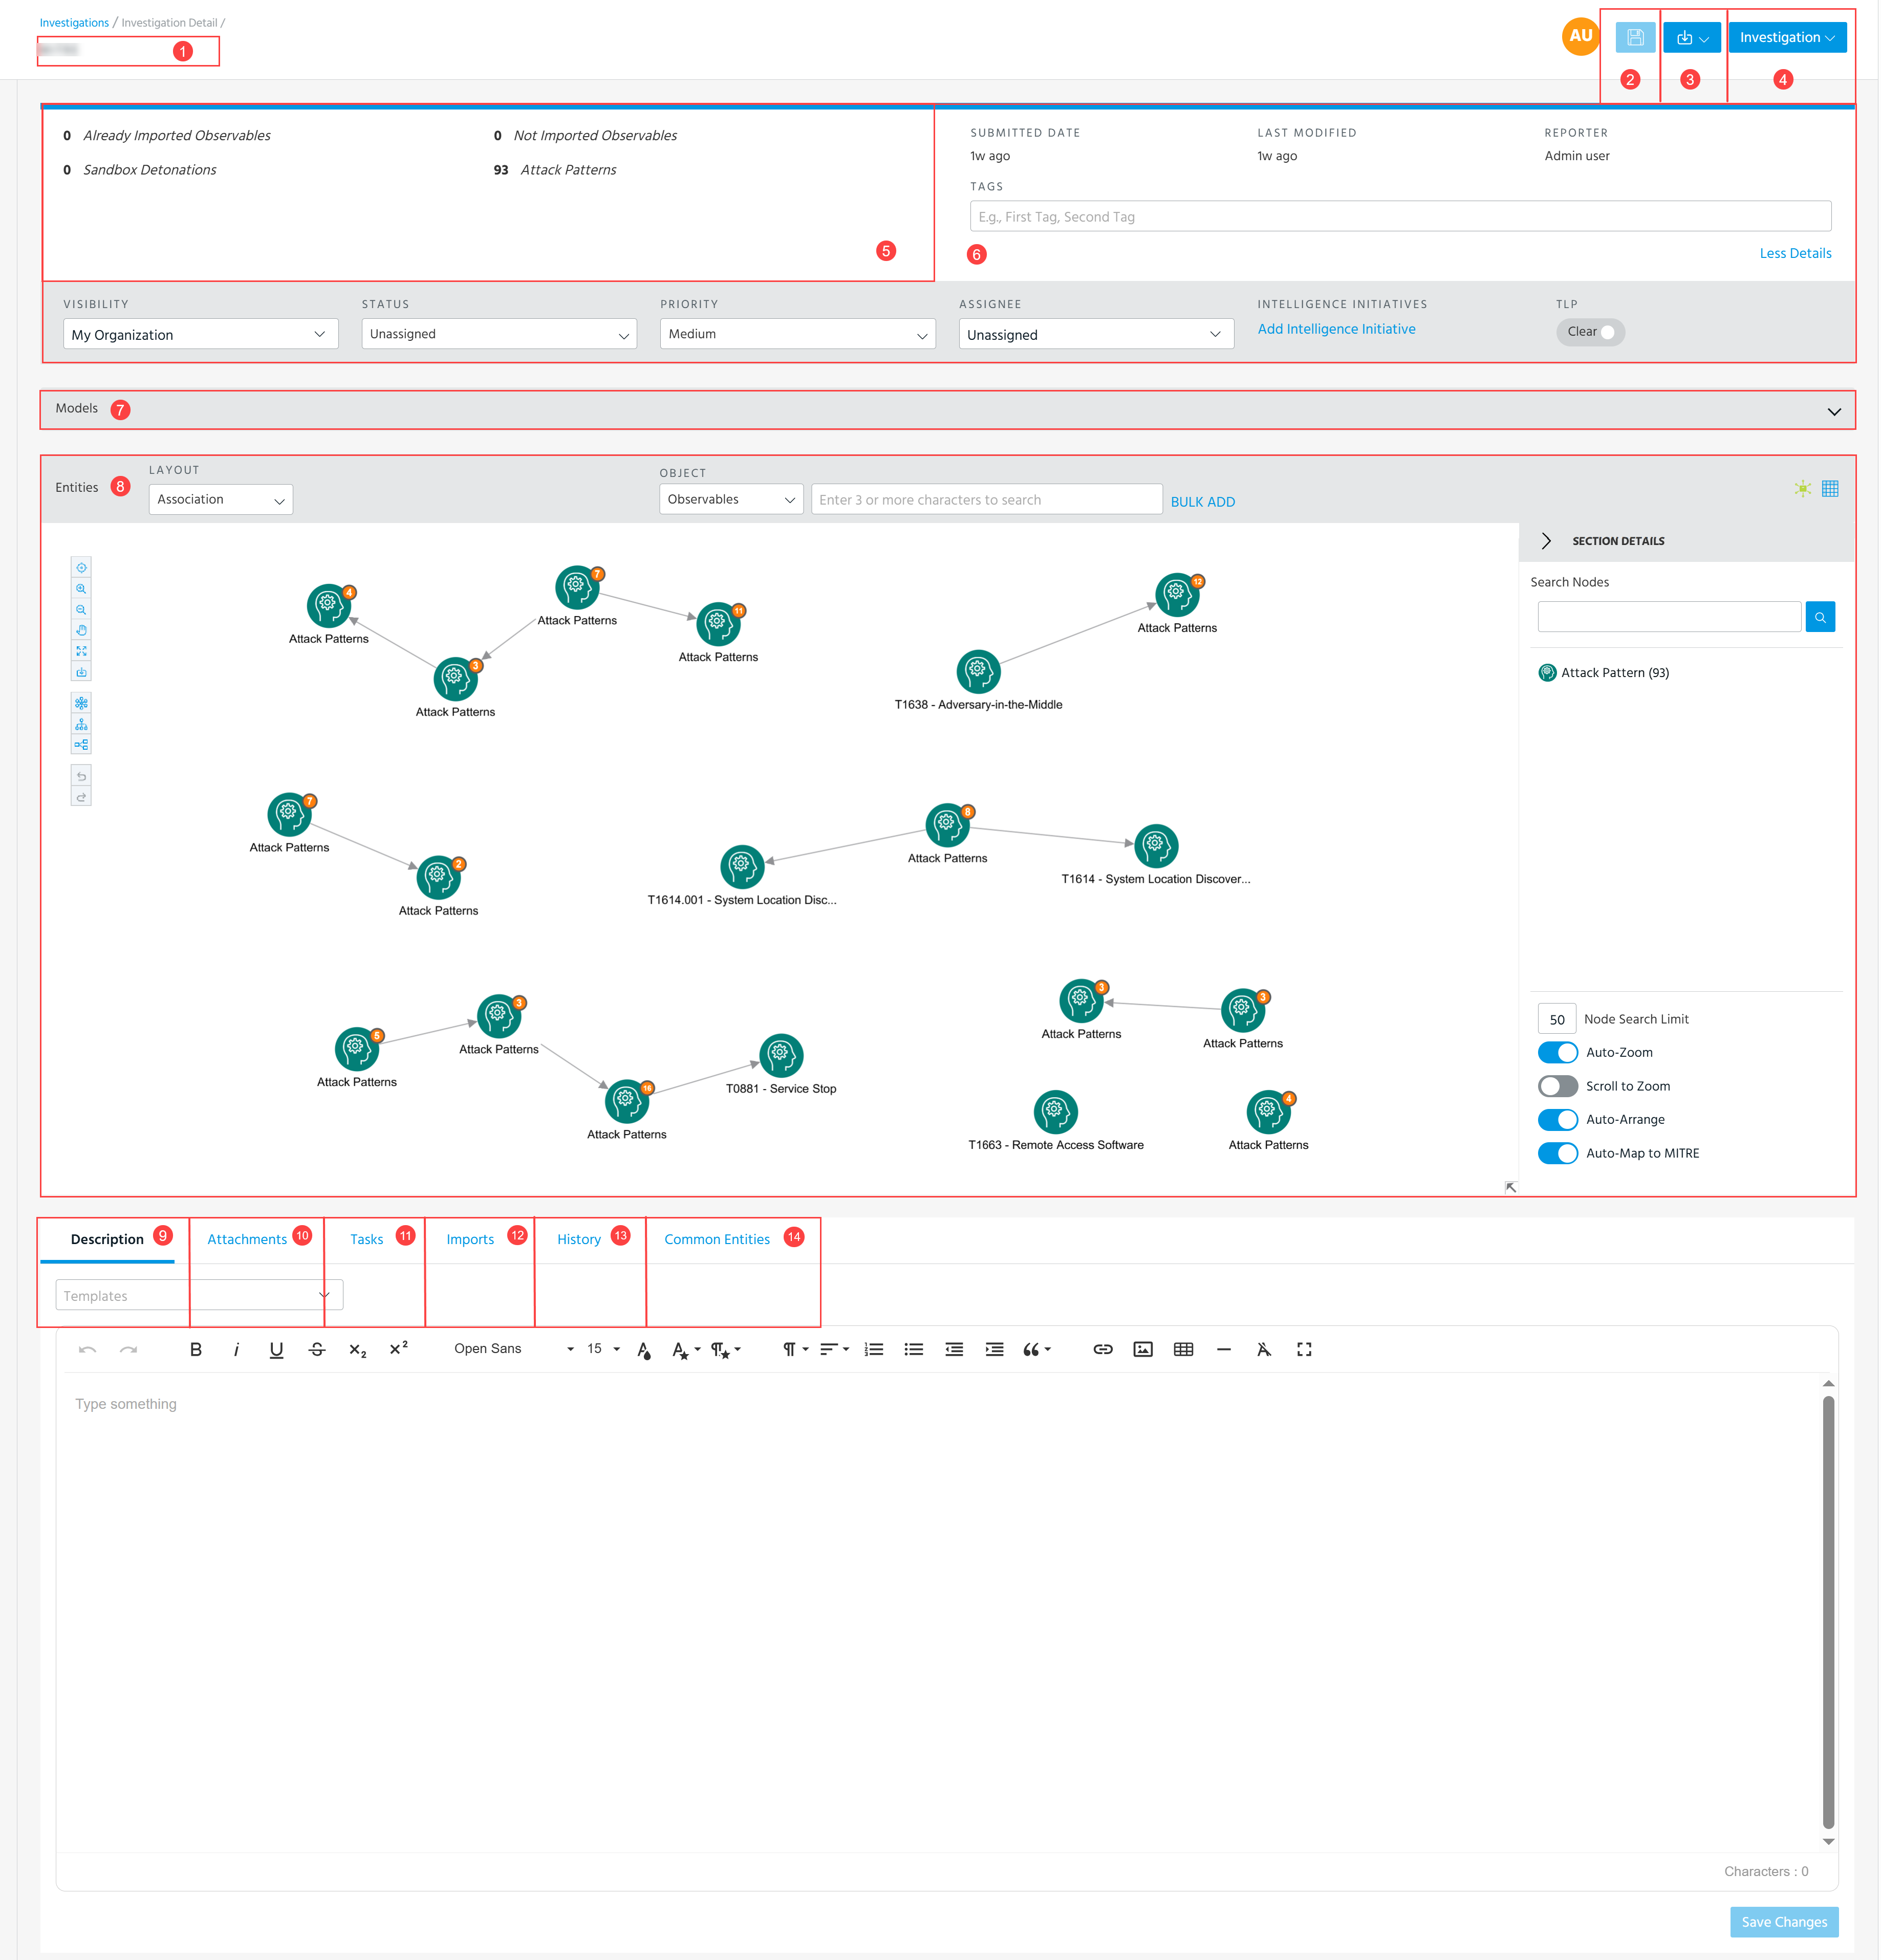
 Investigation name: Click the text to edit the investigation name.
 Save: Save changes to the investigation. The save button becomes active after you make a change to the investigation.
 Export menu:
-
Export to Threat Model: Export the investigation as a threat model entity. See Exporting Investigations as Threat Model Entities for more information.
-
Export to CSV: Export the investigation to a CSV file. See Exporting Investigations to a CSV File for more details.
-
Export as Attack Flow (LA): Export an attack flow from the investigation. See Exporting Attack Flows from Investigations for more information.
-
Export to PDF: Export the investigation to a PDF file. See Exporting Investigations to a PDF File for more details.
-
Export MITRE ATT&CK to JSON: Export MITRE ATT&CK models to a JSON file. See Exporting MITRE ATT&CK Models to a JSON File for more details.
 Investigation: The investigation menu allows you to take the following actions:
- Import Observables—Initiate an import session for any observables contained in the investigation that are unknown to ThreatStream. The TLP color assigned to the investigation is automatically applied to the import session.
- Delete—Delete the investigation. Investigations can only be deleted by the users that created them.
- Create / Update IBM Resilient Incident—Send investigation information to IBM Resilient for tracking. See Integrating with IBM Resilient for more information.
- Create a Jira Ticket—Send investigation information to Jira for tracking. See Integrating with JIRA for more information.
- Create a Security Incident in ServiceNow—Send investigation information to ServiceNow for tracking. See Integrating with ServiceNow for more information.
 Entity Overview: View a count of the entities associated with the investigation by entity type.
Displayed counts include:
- Already Imported Observables: Number of observables contained in the investigation that exist in ThreatStream.
-
Not Imported Observables: Number of observables contained in the investigation from external sources that have yet to be imported into ThreatStream.
Note: Investigations containing more than 1000 observables display a single Observables count.
-
Pending Import Sessions: Import sessions in the Ready To Review status associated with the investigation. Click the Pending Import Sessions link to view the import sessions.
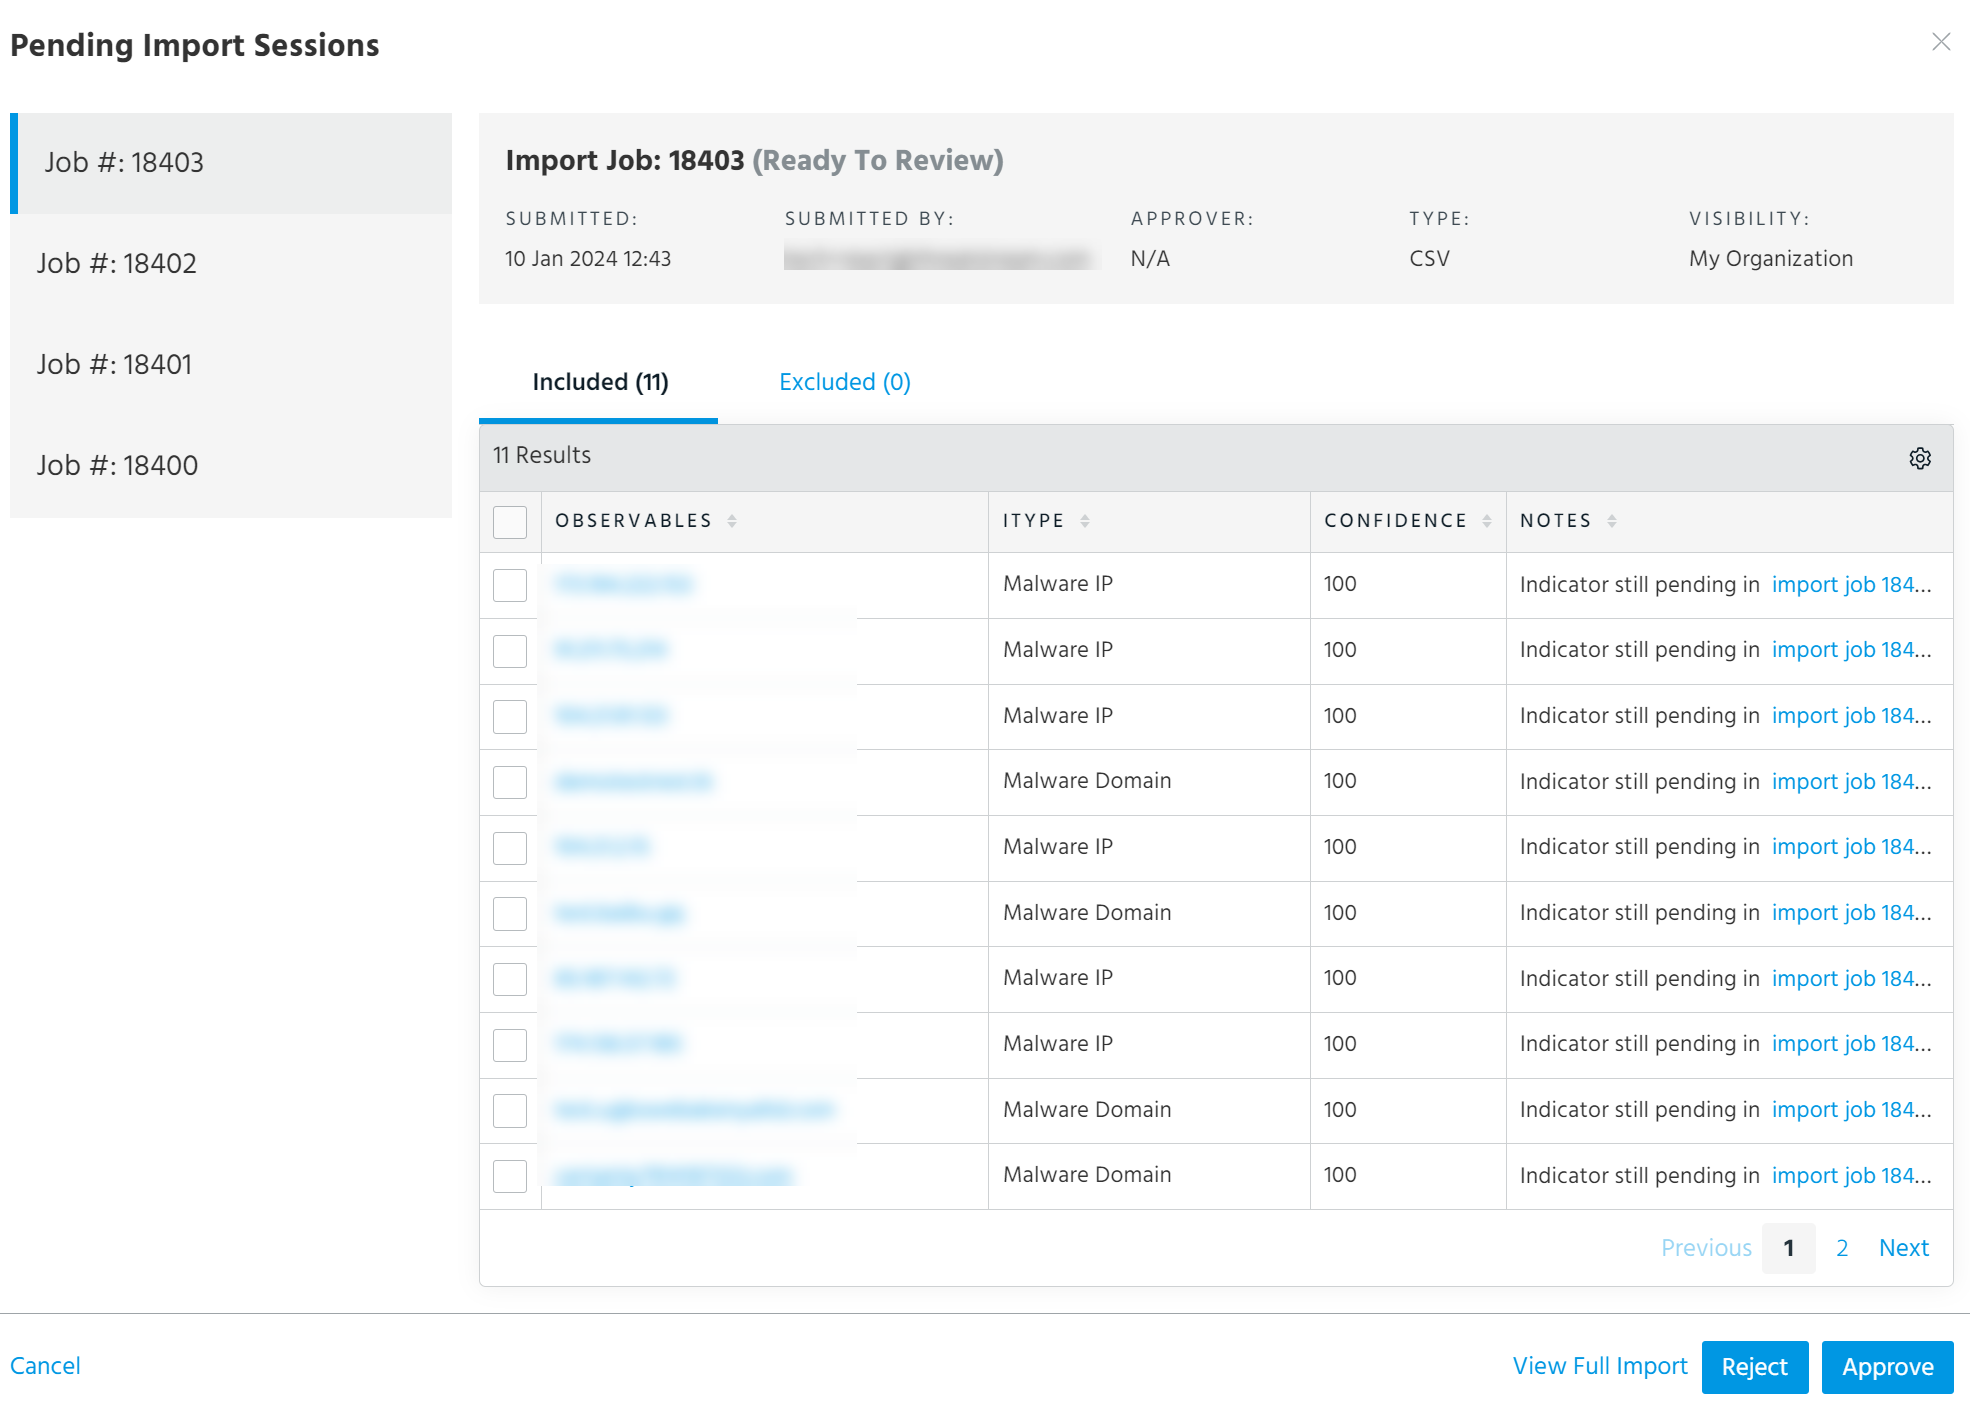
From this window, you can click Approve to approve the import session or Reject to reject the import session. When you approve a pending import session, the observables from the import session become active and are included in the Already Imported Observable count. When you reject an import session, the observables included in the import session contribute to the Not Imported Observables count and are not removed from the investigation. You can click View Full Import to drill down on the import session.
A full list of import sessions associated with the investigation, including those previously approved or rejected, is available in the Imports section. See
 below for more information.
 Note: If you delete a pending import session, observables are not removed from the investigation.
- Sandbox Detonations: Number of sandbox reports contained in the investigation.
-
Threat Model Entities: A count for each Threat Model entity type contained within the investigation. Threat Model entity types include Actors, Attack Patterns, Campaigns, Courses of Action, Identities, Incidents, Infrastructure, Intrusion Sets, Malware, Signatures, Threat Bulletins, Tools, and TTPs.
Note: If you update an observable value in an import session, the update is not reflected in the investigation when you approve the import session. The new observable becomes active on ThreatStream but is not added to the investigation. The original value remains part of the investigation as a Not Imported Observable.
 Investigation details: Click More Details to view or edit all available information.
| Field | Description |
|---|---|
| Submitted Date | Timestamp of when the investigation was created. |
| Last Modified | Timestamp of when the most recent changes were saved to the investigation. |
| Reporter | User that created the investigation. |
| Tags | Tags associated with the investigation. Investigations can contain up to 200 tags. |
| Visibility |
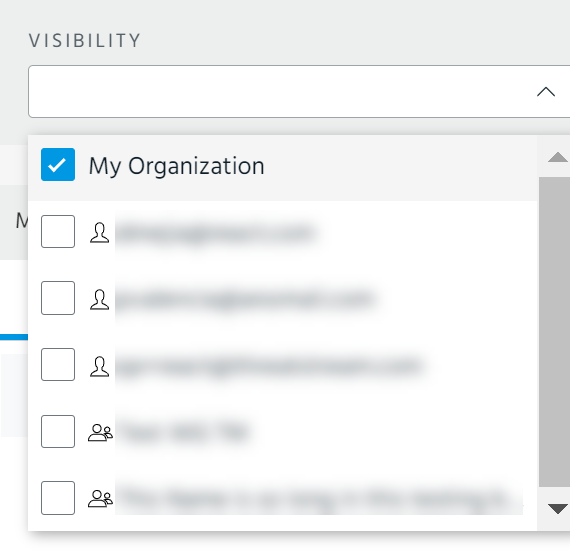
The privacy level for the Investigation. Investigations can be visible to all users in your organization, specific workgroups, or private (visible only by you). To modify the visibility setting for the investigation, open the Visibility dropdown.
To make the investigation visible to all users in your organization, select My Organization. To make the investigation visible to specific workgroups, select the workgroups of interest. To make the investigation visible to a set of users, select the users of interest. To make the investigation private (visible only to you), deselect all boxes in the list. Note: Investigations cannot be shared with users outside of your organization. However, investigations can be exported as threat model entities of any type. The resulting entities can be shared with trusted circles or the Anomali Community. See Exporting Investigations as Threat Model Entities for more information. |
| Status | Status of the investigation—Completed, In Progress, Pending, or Unassigned. |
| Priority | Priority that organization collaborators should give the investigation—Very Low, Low, Medium, High, Very High. |
| Assignee |
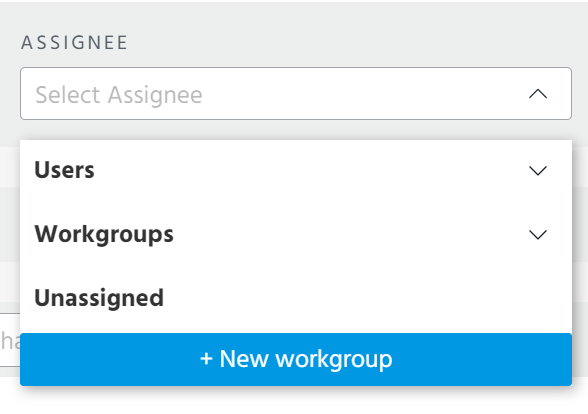
User or workgroup in your organization to which work on the investigation has been assigned. To create a new workgroup, click New workgroup.
Assignees must have visibility into the investigation. You cannot assign the investigation to individual users or workgroups whose members are excluded by the visibility setting of the investigation. For example, if the visibility of the investigation is restricted to a workgroup, it can be assigned to either the workgroup as a whole or an individual member of the workgroup. If you want to remove the assignment for the investigation, select Unassigned. |
| TLP |
The maximum level of information that users outside your organization have access to when viewing your investigation. TLP settings are used to filter information when sharing investigations with outside organizations. Entities or analysis within the investigation that you give a higher TLP color than the one you selected for the investigation will be hidden from outside users. |
 Models: View entities on Investigation Entities, Diamond, and Kill Chain graphical models. Below is an example of the Investigation Entities model.

Entities are automatically assigned to the Investigation Entities model. To view entities on the Diamond or Kill Chain models, you must assign them a Kill Chain phase or Diamond feature.
ThreatStream also enables Anomali Copilot customers to leverage an Enterprise MITRE ATT&CK Framework within Investigations. See Using the MITRE ATT&CK Framework in Investigations.

To assign entities a Kill Chain phase or Diamond feature:
- Navigate to the investigation in which you are working.
- Click Show Models.
- Select Diamond or Kill Chain.
- In the Entities section, open the table view (
 ).
). - Select the entity which you want to add to the model.
- In the Actions menu, click Assign Feature (for the Diamond model) or Assign Phase (for the Kill Chain model).
- Select the Feature or Phase you want to assign the entity.
- Click OK.
Note: Candidate observables must be imported before you can assign them to structured threat models.
 Entities: Data contained in the investigation. You can toggle between the Explore tool (
 ) and a table view () of the entities that populate the Explore tool.
For more information see Managing Investigation Entities.
 Description: Long-form description of the threat and recommendations for further action.
You can enter a description by using the Rich Text editor or a pre-existing description template. The Rich Text editor enables you to add pre-formatted content. You can copy and paste content including images from .doc, docx, and .pdf files into the Rich Text editor. All formatting is preserved.
If you want to use a pre-existing description template, select it from the Templates drop-down list. If none of the existing templates meet your need, you can create a new template. See Creating Description Templates From Investigations for more information.
 Attachments: Files associated with the investigation. This can include investigation attachments, sandbox reports, phishing emails, and so on.
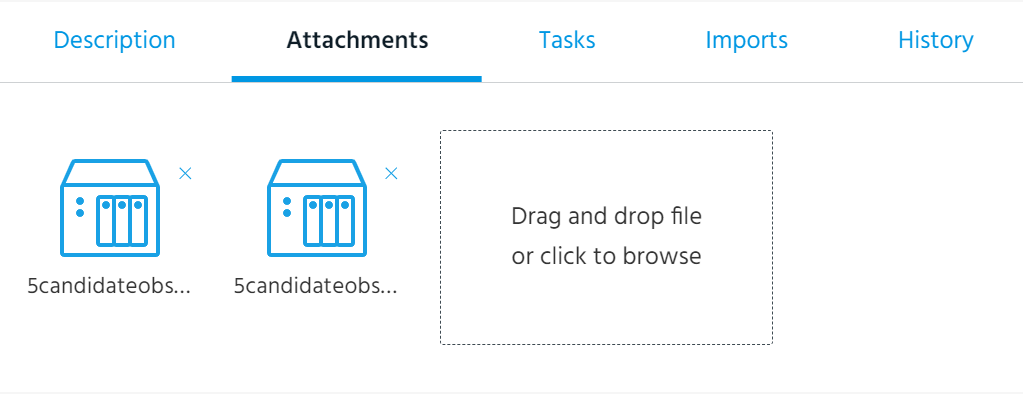
Investigation attachments must be 20MB or less.
To delete attachments, click the X icon of the attachment you want to delete and then click OK on the resulting window to confirm. Attachments are immediately deleted. You do not need to save the investigation to complete the deletion.
Tasks: View assigned tasks or create new ones. Click Add new task to create a task.
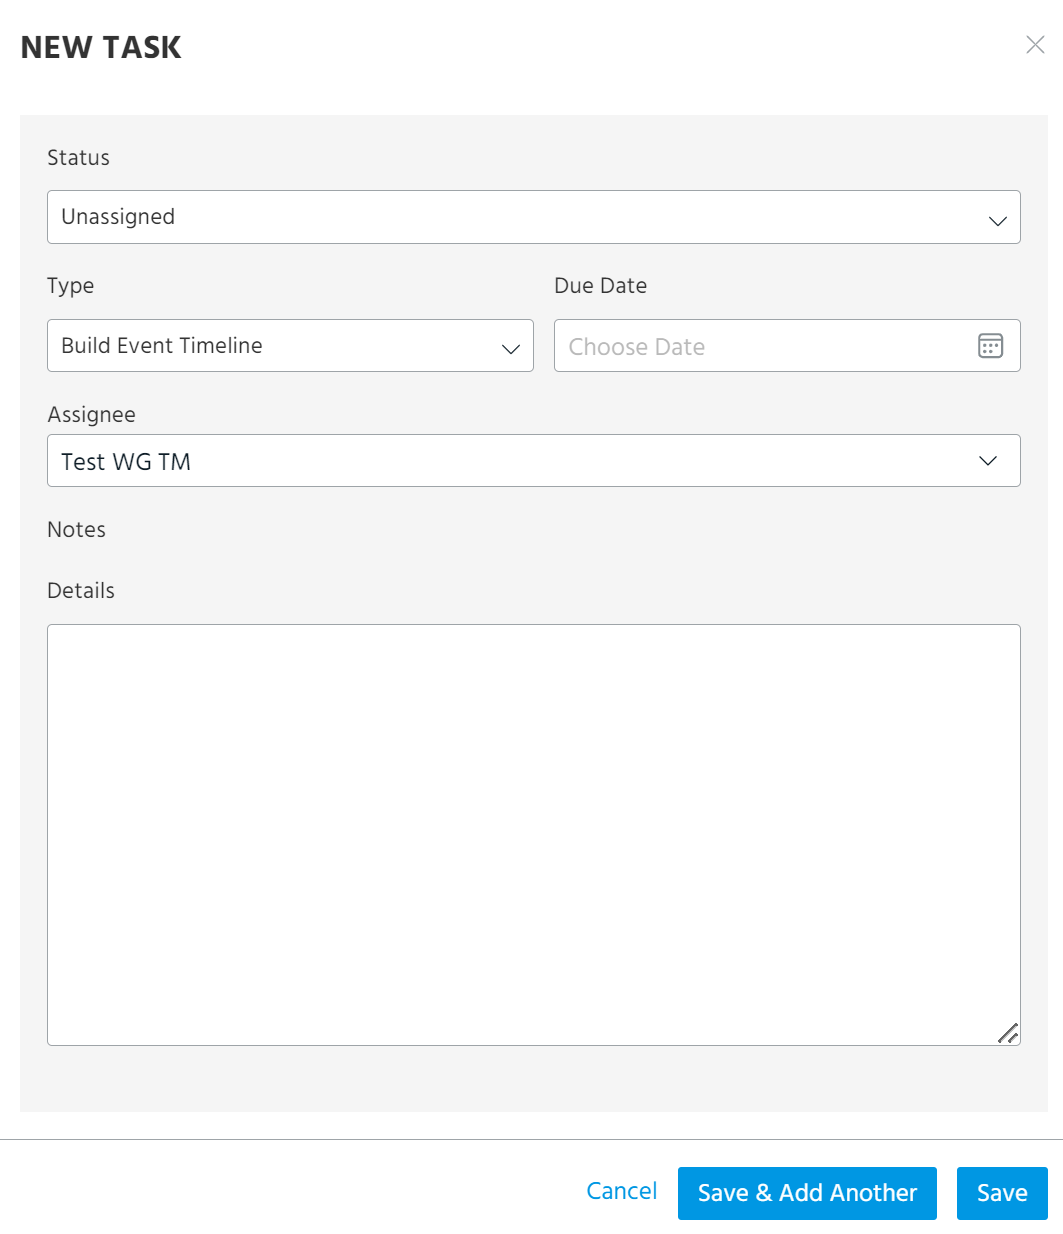
Pre-defined tasks include Determine Target, Add Context, Determine Scope, Find Related Observables, Build Event Timeline, and Show Relationships. You can also use Other to assign tasks outside of the pre-defined tasks. Leave the assignee a Note to make clear what you want them to accomplish.
If you want to remove the assignment for the task, select Unassigned from the assignee drop down menu.
Note: If the visibility of the investigation is restricted to specific workgroups in your organization, the task assignee must be a member of at least one of the workgroups with visibility into the investigation.
Click Delete this task to permanently remove the task from the investigation.
 Imports: View Import Sessions associated with the investigation.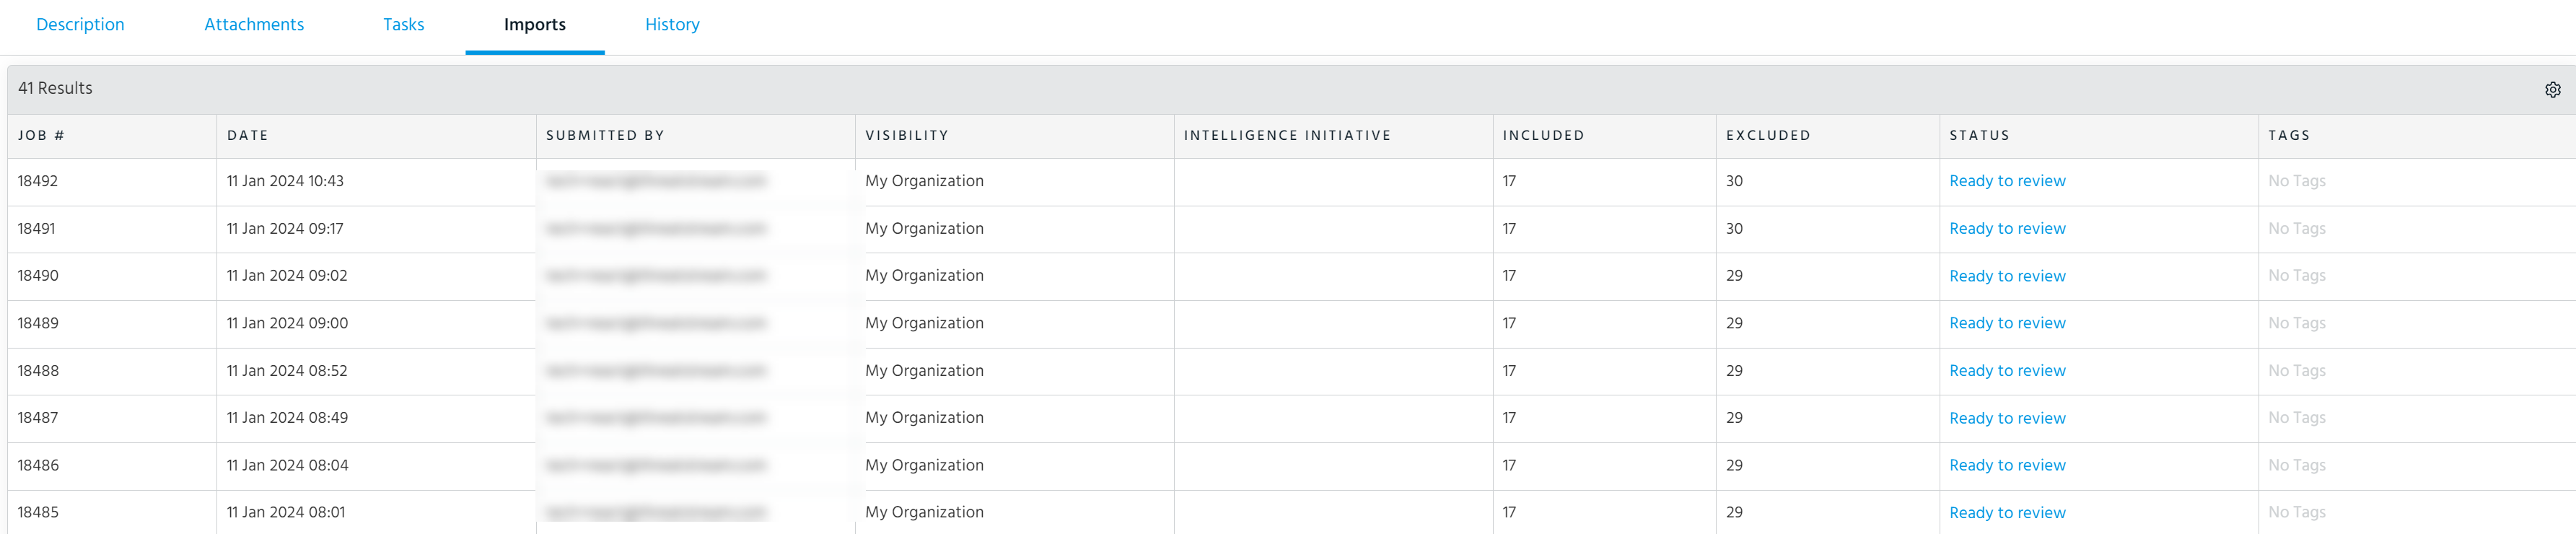
Click the Status to drill down on the import session.
 History: View a log of changes to the investigation on a graphical timeline.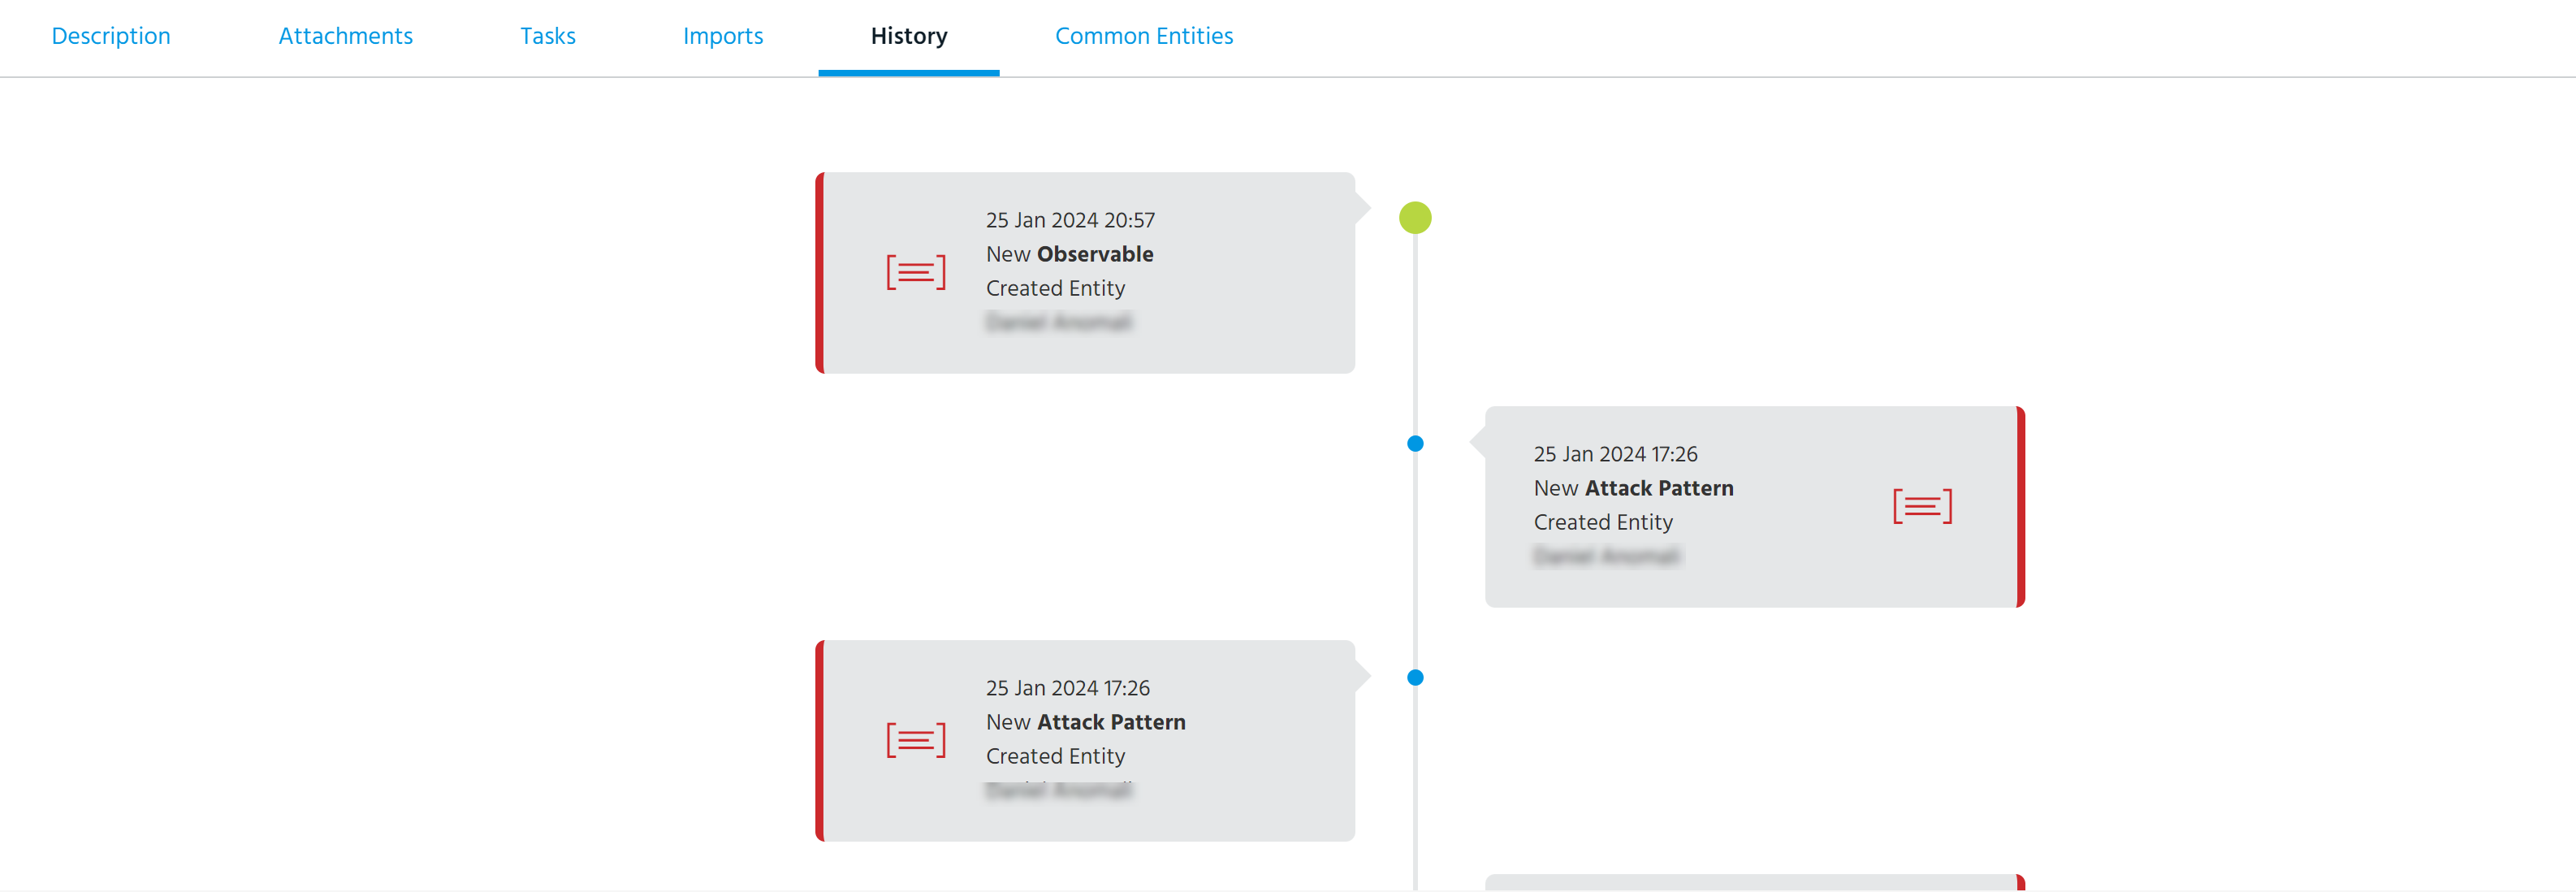
 Common Entities: View the list of observables associated with other open investigations.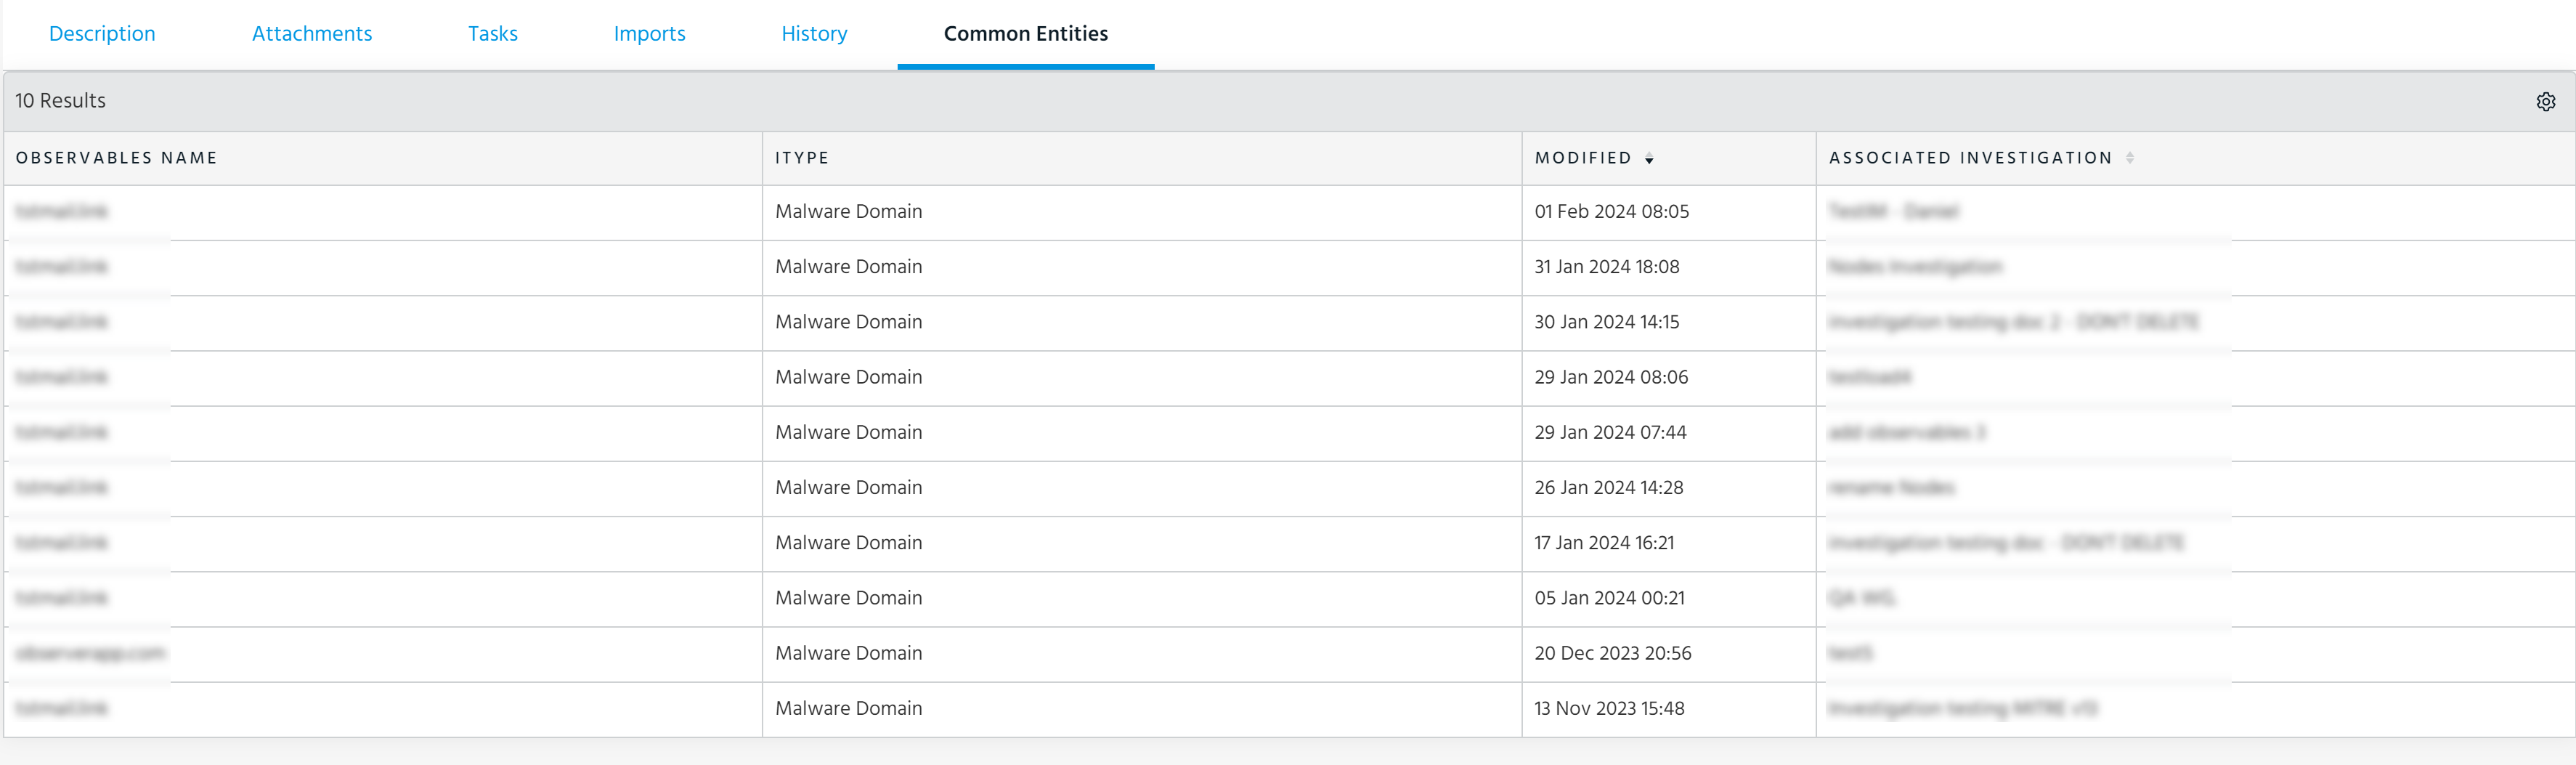
Not Yet Imported Observables in Investigations
Observables listed as Not Yet Imported in investigations originate from multiple places:
- Observables added as Candidate Observables during investigation creation which did not already exist in ThreatStream (see Creating Investigations).
- Observables added as Candidate Observables using the Bulk Add feature on the Explore pivoting chart or the Table View of the investigation (see Managing Investigation Entities).
- Observables parsed from a submission to a phishing mailbox which is configured to create an investigation and not an import session (see Mailboxes for Receiving Observables).
When candidate observables are added to investigations, they can only be assigned IP, Domain, Email, Hash, or URL type.
Global and organization exclude lists are not applied to candidate observables until they are imported. Hence, observables present on your organization Import Exclude List can be added to the investigation as Not Imported Observables. If you want to import any of these observables, click Import Observables in the Actions menu of the investigation.