Creating a Resource Tag
This page describes two ways to create a resource tag:
Creating a Tag
To create a resource tag from the Create Resource Tag page:
-
Click Search > Manage > Resource Tags.
-
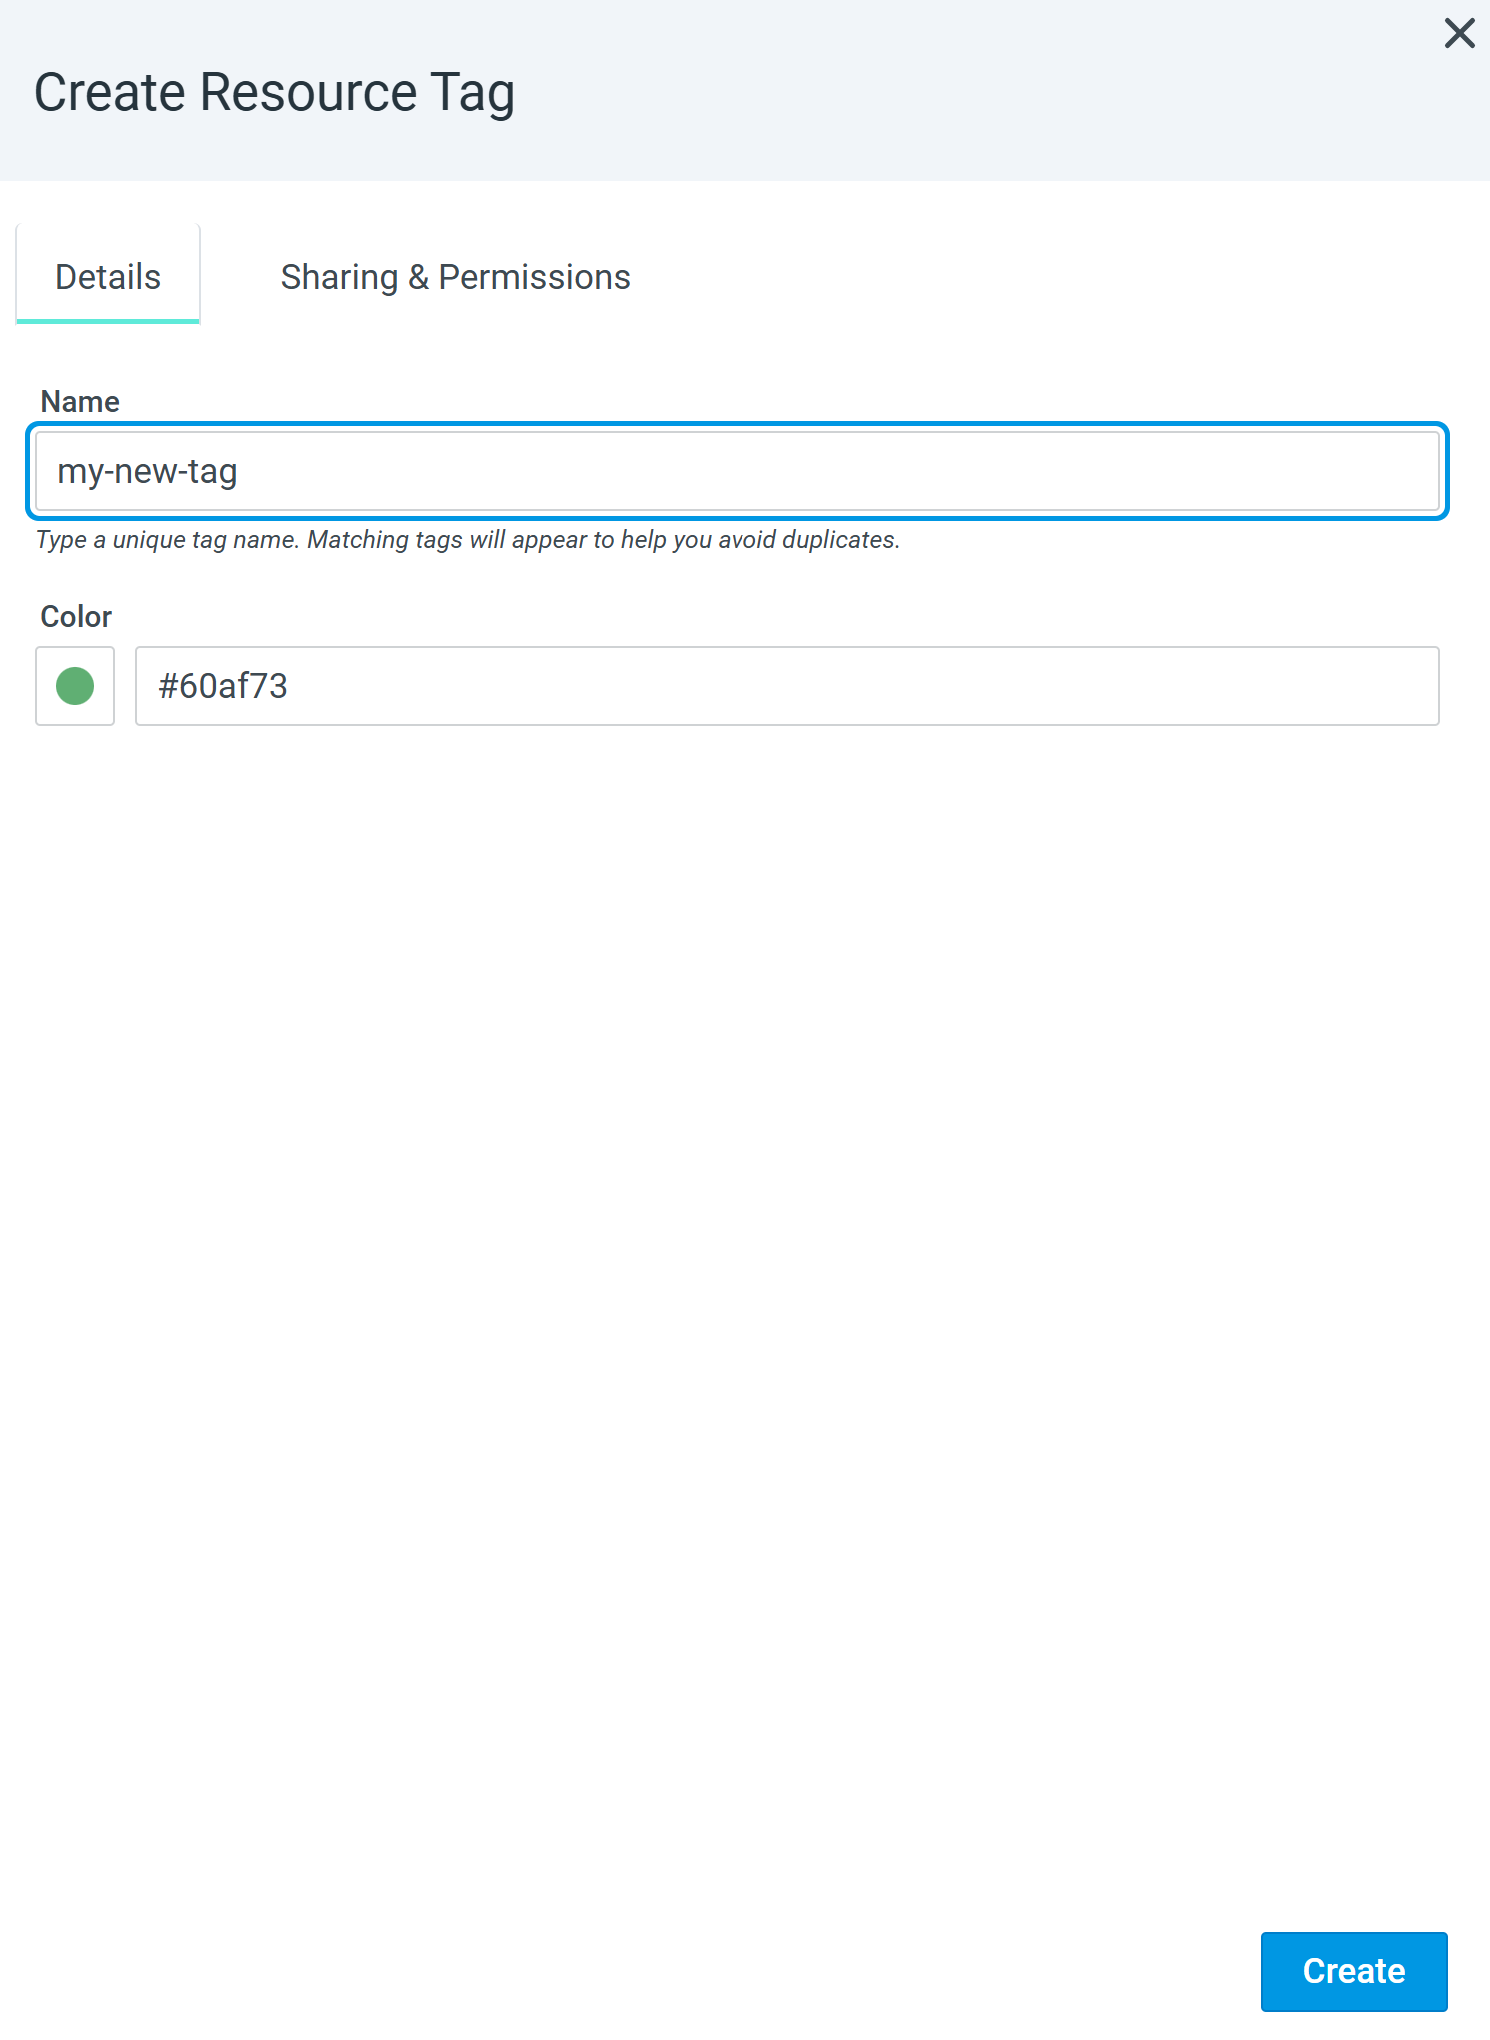
Click New. This opens the Create Resource Tag page on the Details tab.
-
In the Name field, enter a unique name for the tag, containing a maximum of 50 characters.
-
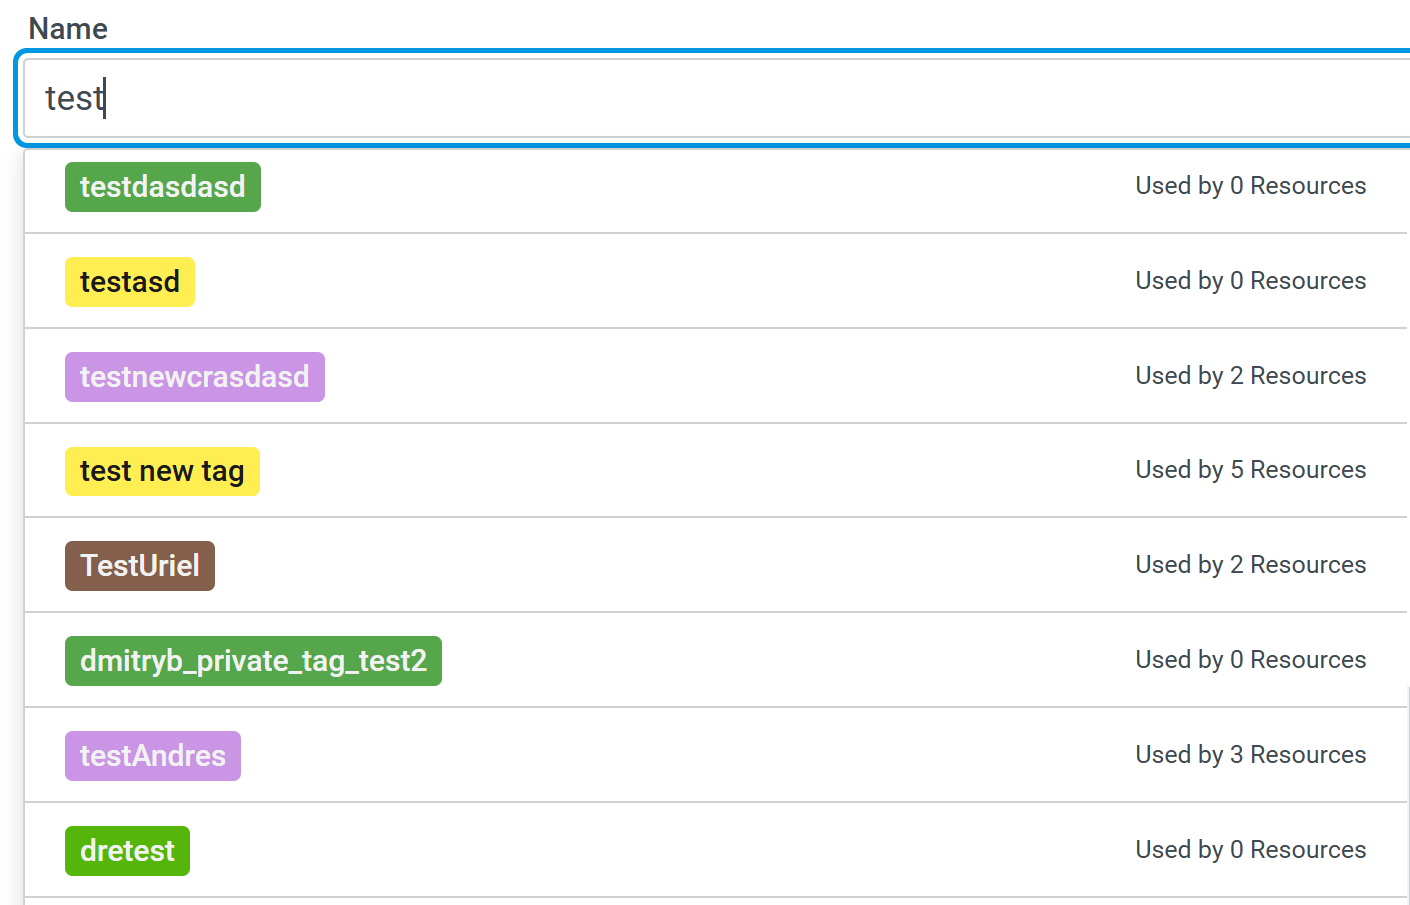
As you type, matching tags from the catalog appear in a dropdown below the field. This helps you identify near-duplicate tags before creating a new tag.
-
If you select an existing tag from the dropdown, the page closes and no new tag is created.
-
If the name you enter exactly matches an existing tag (case-insensitive), your submission is rejected.
-
-
In the Color field, select a color for the tag chip. The chip text color automatically contrasts against the selected background for readability.
-
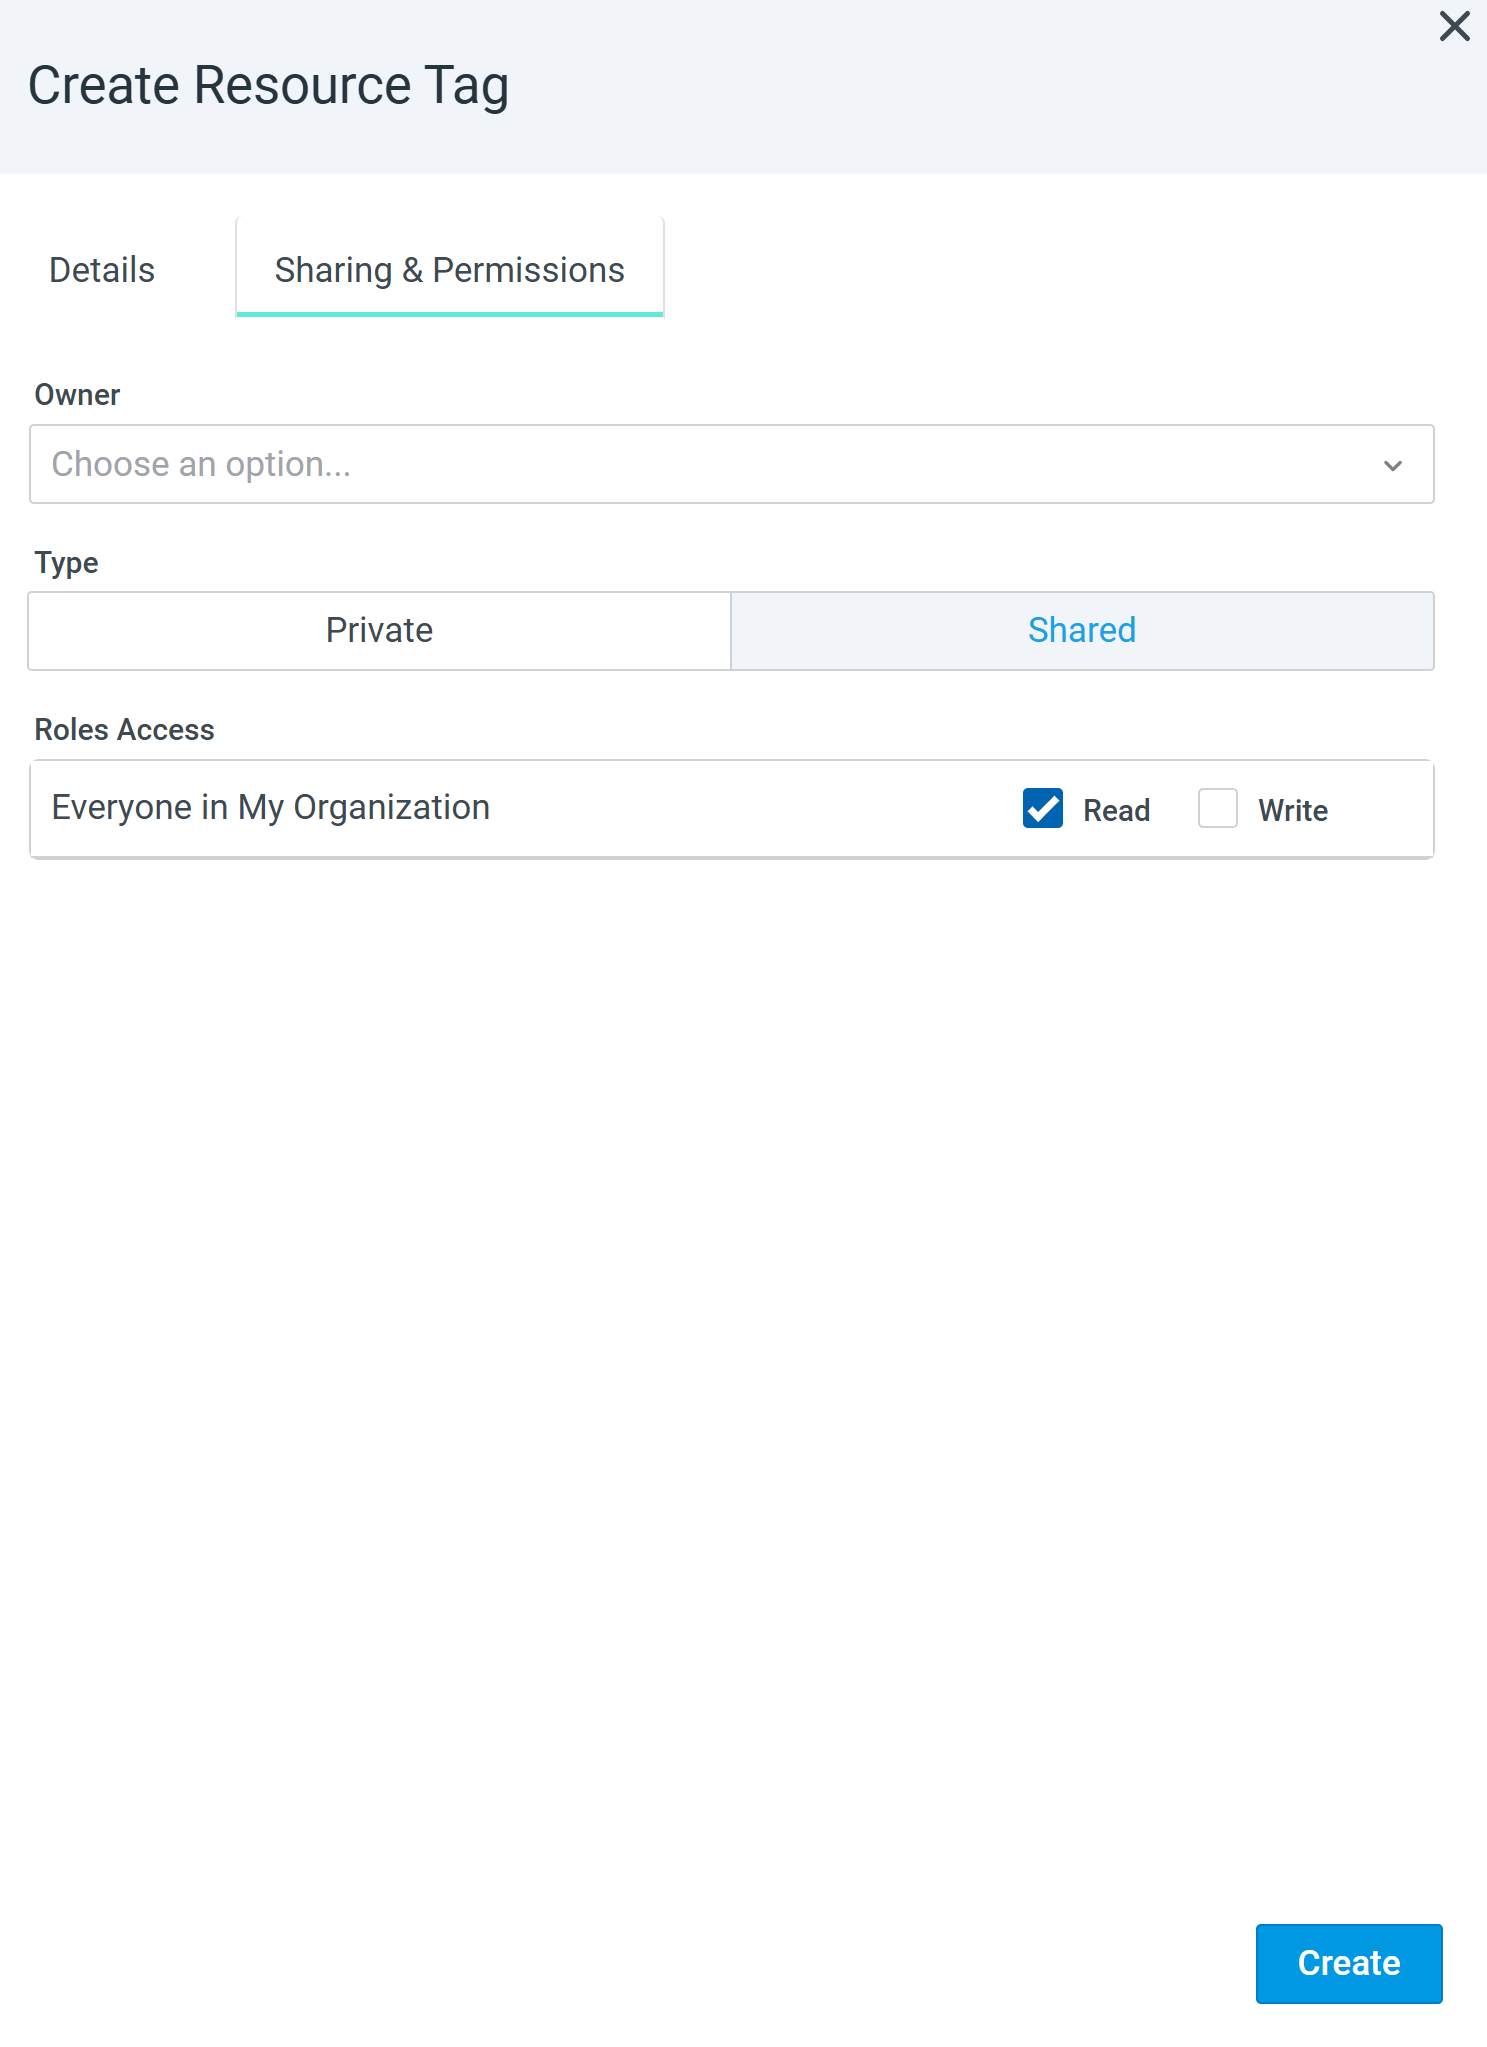
(Optional) Click Sharing & Permissions to configure who can see and modify the tag.
-
Owner: The user who will own the tag. Defaults to the current user. Only the owner or an organization administrator can change sharing settings or reassign ownership after creation.
-
Type: Select Private (visible to owner and organization administrators only) or Shared (visible to all users in the organization). Defaults to Shared.
-
Roles Access: If Shared is selected, set the permission level for Everyone in My Organization:
-
Read: Selected by default. Users can view and apply the tag but cannot modify or delete it.
-
Write: Users can view, apply, modify, and delete the tag.
-
See User Sharing and Permissions for more information on what each permission level allows.
-
-
Click Create. The new tag appears in the Resource Tags page immediately, with the correct Created By and Created values.
Creating a Tag Inline While Editing a Resource
You can also create a tag inline while editing a resource, such as a dashboard, without navigating to the Resource Tags page, as follows:
-
Type a new tag name. The creation flow displays auto-complete suggestions as you type.
-
Assign a color to the new tag.
-
Click the add icon (
 ) to add the tag to the dashboard.
 -
(Optional) To view or manage existing resource tags, click Manage Resource Tags. This launches the Resource Tags page containing all the tags in a new tab.
-
Click Save.
Note: Inline creation includes Name and Color only. There is no option to enter a Description or configure Sharing & Permissions.