Editing Infrastructure
Infrastructure entities created by your organization can always be edited.
To edit an Infrastructure entity:
- Navigate to ThreatStream > Analyze > Threat Model.
- Click the name of the Infrastructure entity you want to edit.
- Click Actions > Edit.
-
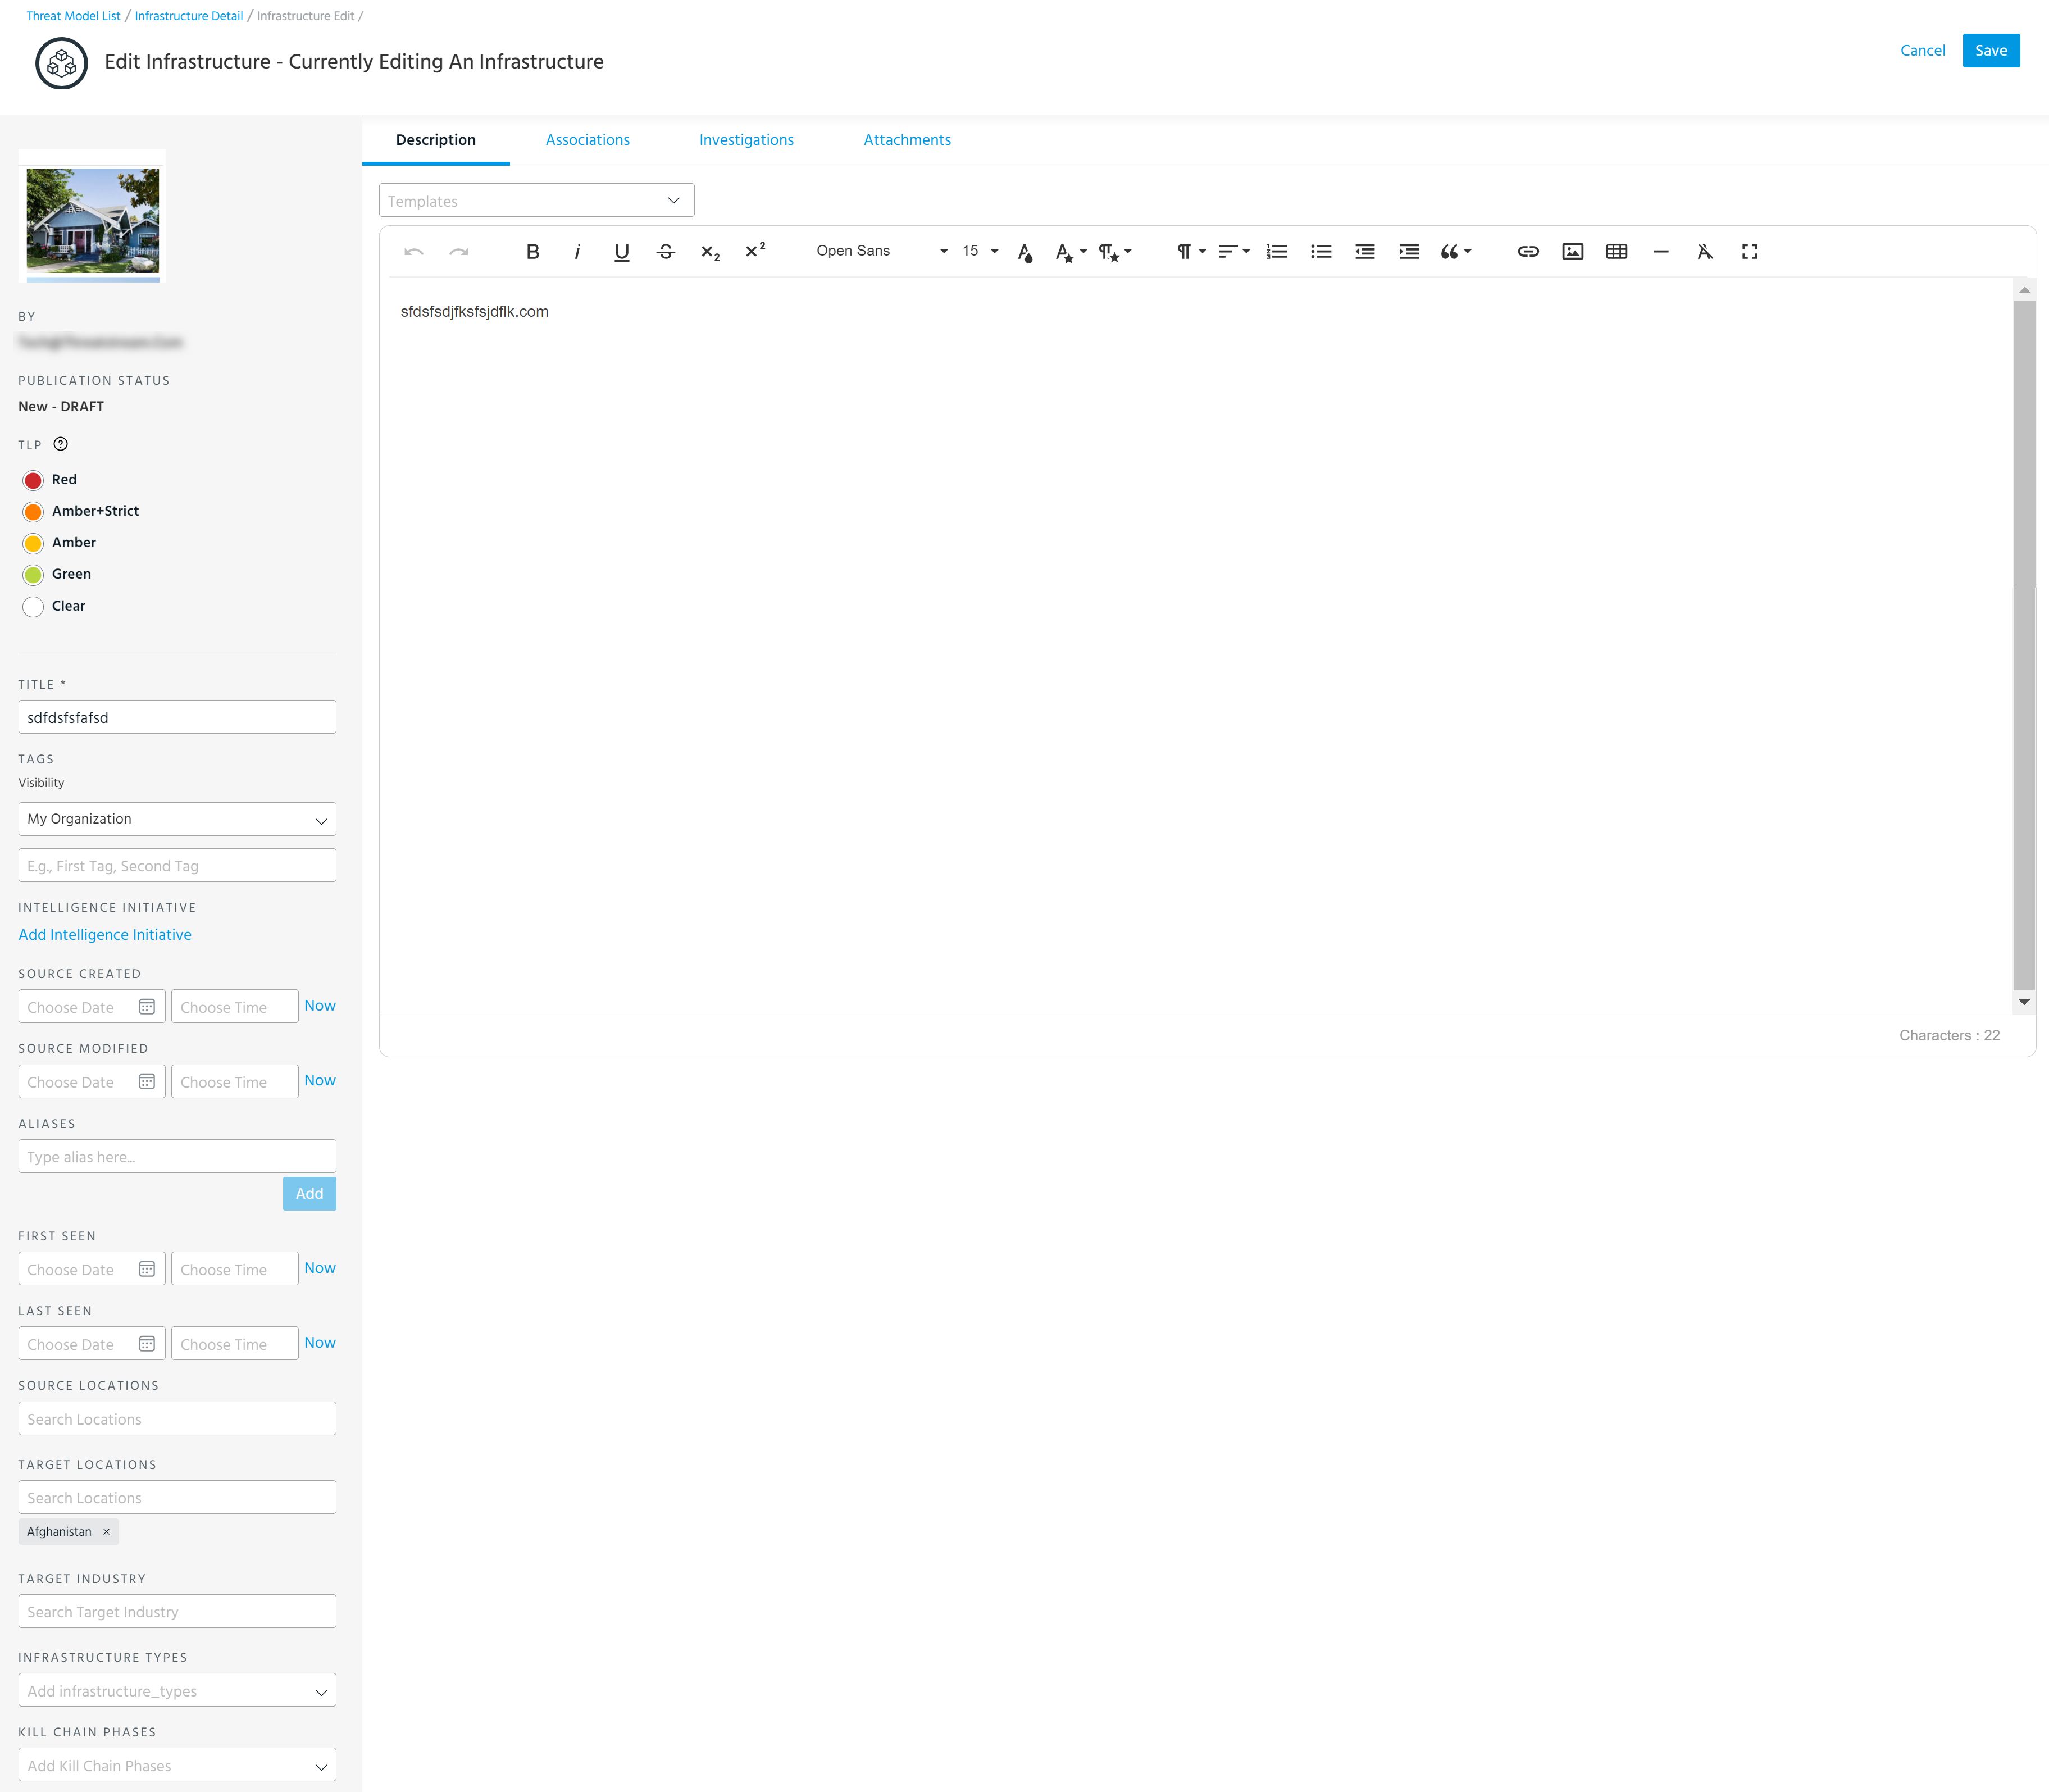
In edit view, make changes to any of the fields listed below.
Field Description TLP Select a TLP (Traffic Light Protocol) color to associate with the Infrastructure entity.
The TLP color provides a mechanism to communicate to consumers of the information whether further dissemination of this information is allowed; if yes, how freely can this information be distributed.
To learn more about TLP, search for "Traffic Light Protocol" in your favorite search engine.
Title Enter a meaningful name for the Infrastructure entity.
Infrastructure titles are associated with your organization. Therefore, you cannot create two Infrastructure entities with the same title within your organization. However, two Infrastructure entities with the same title can exist on ThreatStream as long as they belong to different organizations.
Note: Titles must be 255 characters or less.
Tags Enter a term that can be used to search for this entity later using search. To add private tags that are only visible to your organization, assign them the My Organization visibility setting. Tags assigned the Anomali Community visibility setting are visible to any user with access to the entity. Since organizations can decide whether users outside of their organization can add public tags to their data, the Anomali Community visibility setting is not available in all cases.
Tagging is a quick and easy way to add metadata to threat intelligence. For example, you can add a tag to indicate the industry that the threat intelligence is associated with or a tag to indicate the Kill Chain phase stage.
As you type, the 20 most used tags in your organization from the previous seven days are displayed. Enter * to display a list of preferred tags configured by your organization, in addition to pre-defined kill chain phase tags.
For entities owned by your organization, you can delete any public tag associated with the entity. For entities owned by other organizations, you can only delete tags added by your organization.
Note:
-
Infrastructure entities can contain up to 200 tags per organization. Tags added by other organizations do not count toward this limit.
-
Tags must be 2,000 characters or less.
-
You can remove any public tag added by other organizations to your Threat Model entities.
Intelligence Initiative Add intelligence initiatives associated with the Infrastructure. Click Add Intelligence Initiative to add an intelligence initiative to the Infrastructure. Source Created
Specify the date and time when the entity was created by its original source.
Click Now to use the current time.
Source Modified
Specify the date and time when the entity was last modified by its original source.
Click Now to use the current time.
Aliases Add alternative names used to identify this Infrastructure. Source Locations Select source countries, regions, or administrative areas (US States and Washington DC only) associated with this Infrastructure. Locations available for selection are defined by STIX 2.1.
Note: Only organizations owning the Infrastructure entity can add or delete source locations.Target Locations Select target countries, regions, or administrative areas (US States and Washington DC only) associated with this Infrastructure. Locations available for selection are defined by STIX 2.1.
Note: Only organizations owning the Infrastructure entity can add or delete target locations.Target Industry Select target industries associated with the Infrastructure. Target industry options available for selection are defined by the STIX 2.1 Industry Sector vocabulary.
Note: Only organizations owning the Infrastructure can add or delete target industries.First Seen
Specify the time that this Infrastructure was first seen performing malicious activities.
Click Now to use the current time.
Last Seen Specify time that this Infrastructure was last seen performing malicious activities.
Click Now to use the current time.
Infrastructure Types
Select the type of Infrastructure being described. Kill Chain Phases Select Kill Chain phases for which this Infrastructure is used. Description Description Enter a description for the threat model. You can enter a description by using the Rich Text or a Markdown editor or a pre-existing description template.
The Rich Text editor enables you to add pre-formatted content. You can copy and paste content including images from .doc, docx, and .pdf files into the Rich Text editor. All formatting is preserved.
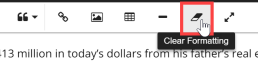
Tip: To remove formatting from pasted text, select the text from which you want to remove formatting and click the "Clear Formatting" button.
The Markdown editor enables you to use a markdown description.
Note: Once a description has been saved, you can no longer switch between the rich text and markdown editors.
If you want to use a pre-existing description template, select it from the Templates drop-down list. If none of the existing templates meet your need, you can create a new template. See Creating Description Templates From Threat Models for more information.
Associations Observables Create associations with this Infrastructure entity.
To create associations with this Infrastructure entity:
- Click Add for the type of entity you want to associate.
-
Select the entities you want to add.
-
(Optional) On the Details tab, define an SRO for the association. See Managing STIX Relationship Objects (SROs) for more information.
- Click Create Association.
The associations have been added.
Import Sessions Threat Bulletins Actors Attack Patterns Campaigns Course of Action Identities Incidents Infrastructure Intrusion Sets Malware Signatures Tools TTPs Vulnerabilities Sandbox Reports Investigations Investigations Investigations associated with the Infrastructure. To remove the Infrastructure from an investigation, click on the investigation of your interest and delete the Infrastructure from the investigation page. See Managing Entities on the Table View for details. Attachments Attachments Add file attachments or external reference URLs to the entity.
To add attachments:
- Click Add File in the Actions menu.
-
Drag and drop files of interest into the resulting window, or click the window to open your file explorer and browse for files.
Note: You can include up to 15 files in a single upload. Each files must be 10 MB or less. In sum, selected files must be 100 MB or less.
- Click Attach.
The files have been uploaded.
To add an external reference:
- Click Add URL in the Actions menu.
- Enter a Title for the reference.
- Enter the URL corresponding to the reference.
- Click Attach.
The external reference has been added.
Note: Visibility is set when you publish entities. If you want to change the Visibility of a published entity, click Publish in the Actions menu and select a new Visibility.
-