Adding an Identity
You can add identities to Anomali Agentic SOC Operations either manually or in bulk by importing a CSV file. Identities synced automatically from connected identity providers do not require manual entry.
Note: Adding an identity, whether manually or through CSV import, requires the Manage Entities permission. For details, see Managing Roles.
To add a new identity:
-
On the left navigation bar, click Entity Management > Entities > Identities.
-
On the Identities page, click Add Identity.
-
Click either the Manual or CSV Import tabs.
Adding an Identity Manually
The Manual tab lets you register a single identity by entering its details directly.
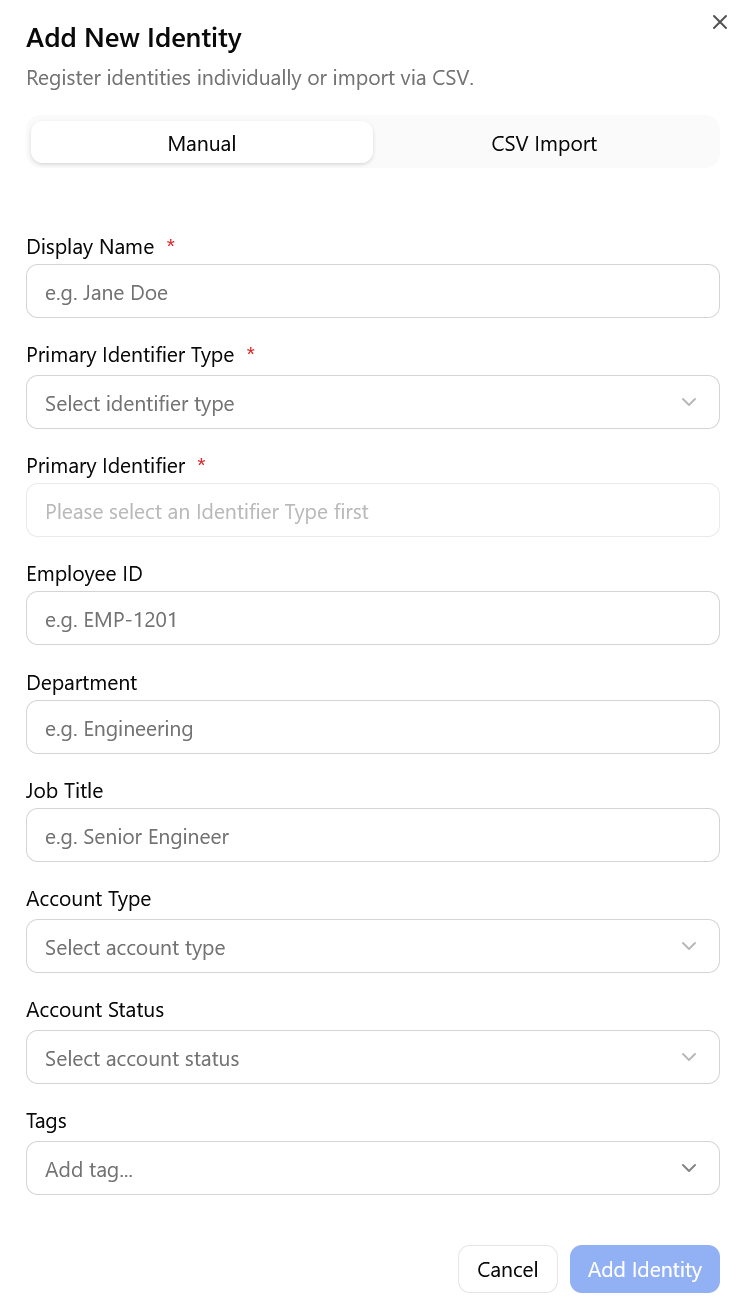
| Field | Description |
|---|---|
| Display Name * | The full name used to identify this identity in Anomali Agentic SOC Operations. |
| Primary Identifier Type * | The type of the primary identifier for this identity, such as email or username. |
| Primary Identifier * | The unique identifier value matching the selected type, for example, an email address. This field becomes active after a Primary Identifier Type is selected. |
| Employee ID | (Optional) The internal employee identifier assigned by the organization. |
| Department | (Optional) The organizational department to which this identity belongs. |
| Job Title | (Optional) The job title for this identity within the organization. |
| Account Type | (Optional) The type of account, such as employee or service account. |
| Account Status | (Optional) The current status of the account. |
| Tags | (Optional) Labels to categorize or organize this identity. |
| Aliases - Email(s) | (Optional) Additional email addresses associated with this identity, comma-separated. |
| Aliases - Usernames | (Optional) Additional usernames associated with this identity, comma-separated. |
| Aliases - UPNs | (Optional) User Principal Names associated with this identity, comma-separated. |
Click Add Identity to save, or Cancel to discard.
Before creating the record, the system checks for potential duplicates. If a match is found, it is flagged by the Potential Identity Conflict dialog. See Resolving Identity Conflicts for more information.
Adding Identities through CSV
The CSV Import tab lets you register multiple identities at once by uploading a formatted CSV file.

To import identities through CSV:
-
Click Template to download the CSV template. The template includes all supported column headers.
-
display_name is required in every row.
-
Including primary_identifier and primary_identifier_type improves duplicate detection during import.
-
-
Populate the template with your identity data. Supported columns are:
display_name, primary_identifier, primary_identifier_type, department, job_title, employment_type, identity_category, cost_center, risk_sensitivity, is_privileged, privilege_level, status, given_name, surname, employee_id -
Drag and drop your completed CSV file onto the upload area, or click to browse and upload the file.
-
Click Validate to check the file for formatting errors before importing. The Validation Results dialog reviews every row without committing any records. See Validating Identities for more information.
-
Click Import to complete the import, or Cancel to discard.
Validating Identities
When you click Validate, the platform validates the uploaded files and presents its evaluation in the Validation Results dialog, without committing any records to the system.

A summary bar shows the total count for each outcome: Ready, Warnings, and Errors. Clicking View Details displays a table with one row per CSV row.

Here, the Status column shows one of three values:
-
Ready—the row passed validation and will import without issues.
-
Warning—the row has a non-blocking issue. The record will still import, but review the Issue column for details.
-
Error—the row has a blocking issue and will not be imported. Correct the source file and re-upload to resolve.
Click Close to return to the CSV Import tab.
Resolving Identity Conflicts
When you submit a new identity, whether manually or through CSV, the system checks whether any existing identity matches on the Display Name, Primary Identifier, or any alias fields such as Email, Username, or UPN.
Matching is cross-field: for example, if an incoming primary identifier matches an existing email alias, a conflict is still detected. If a match is found, the Potential Identity Conflict dialog appears before the record is created.
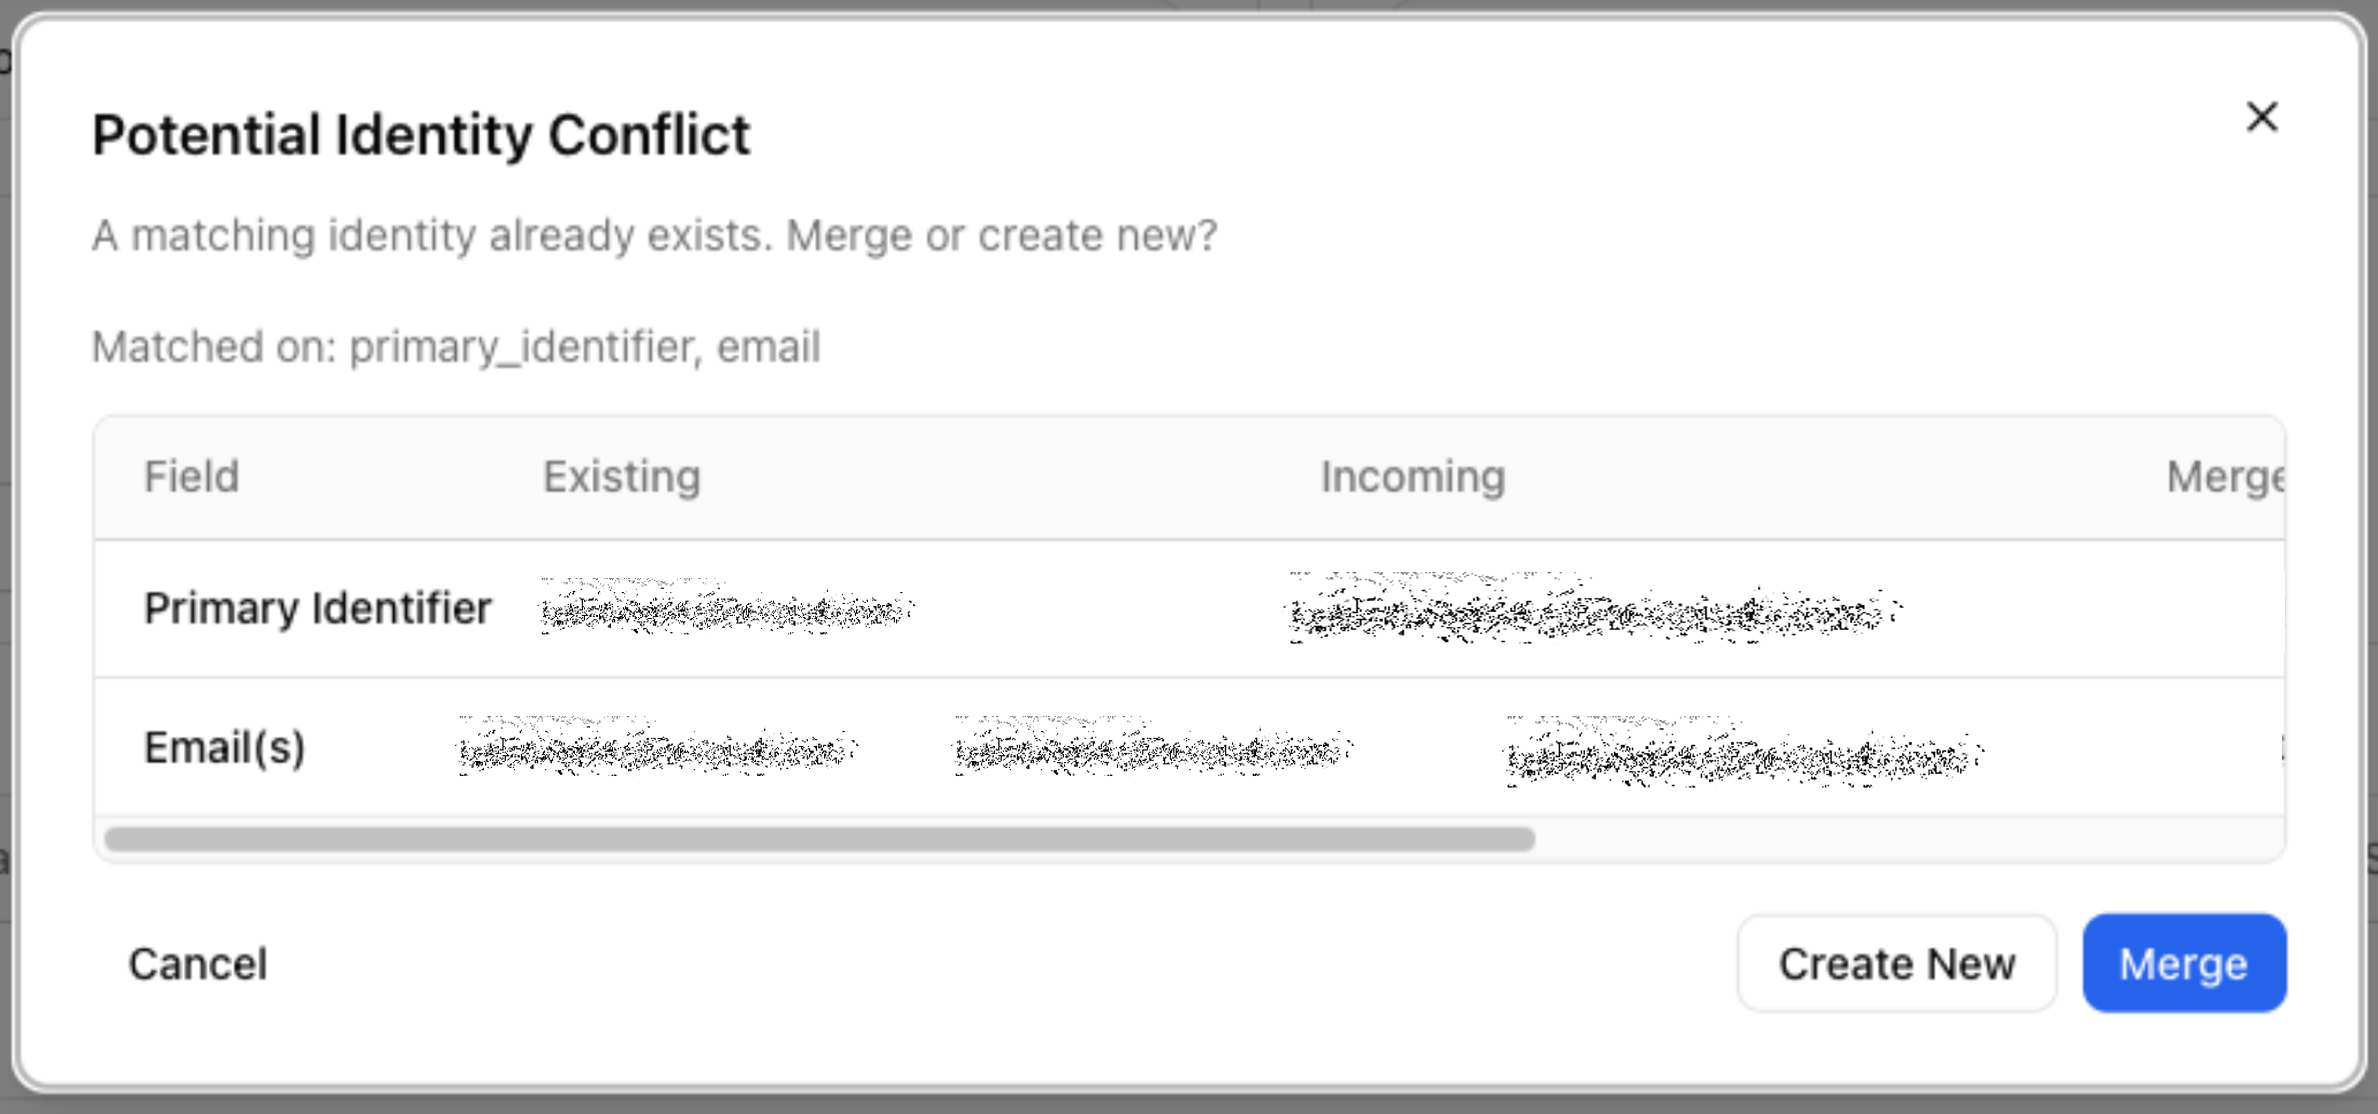
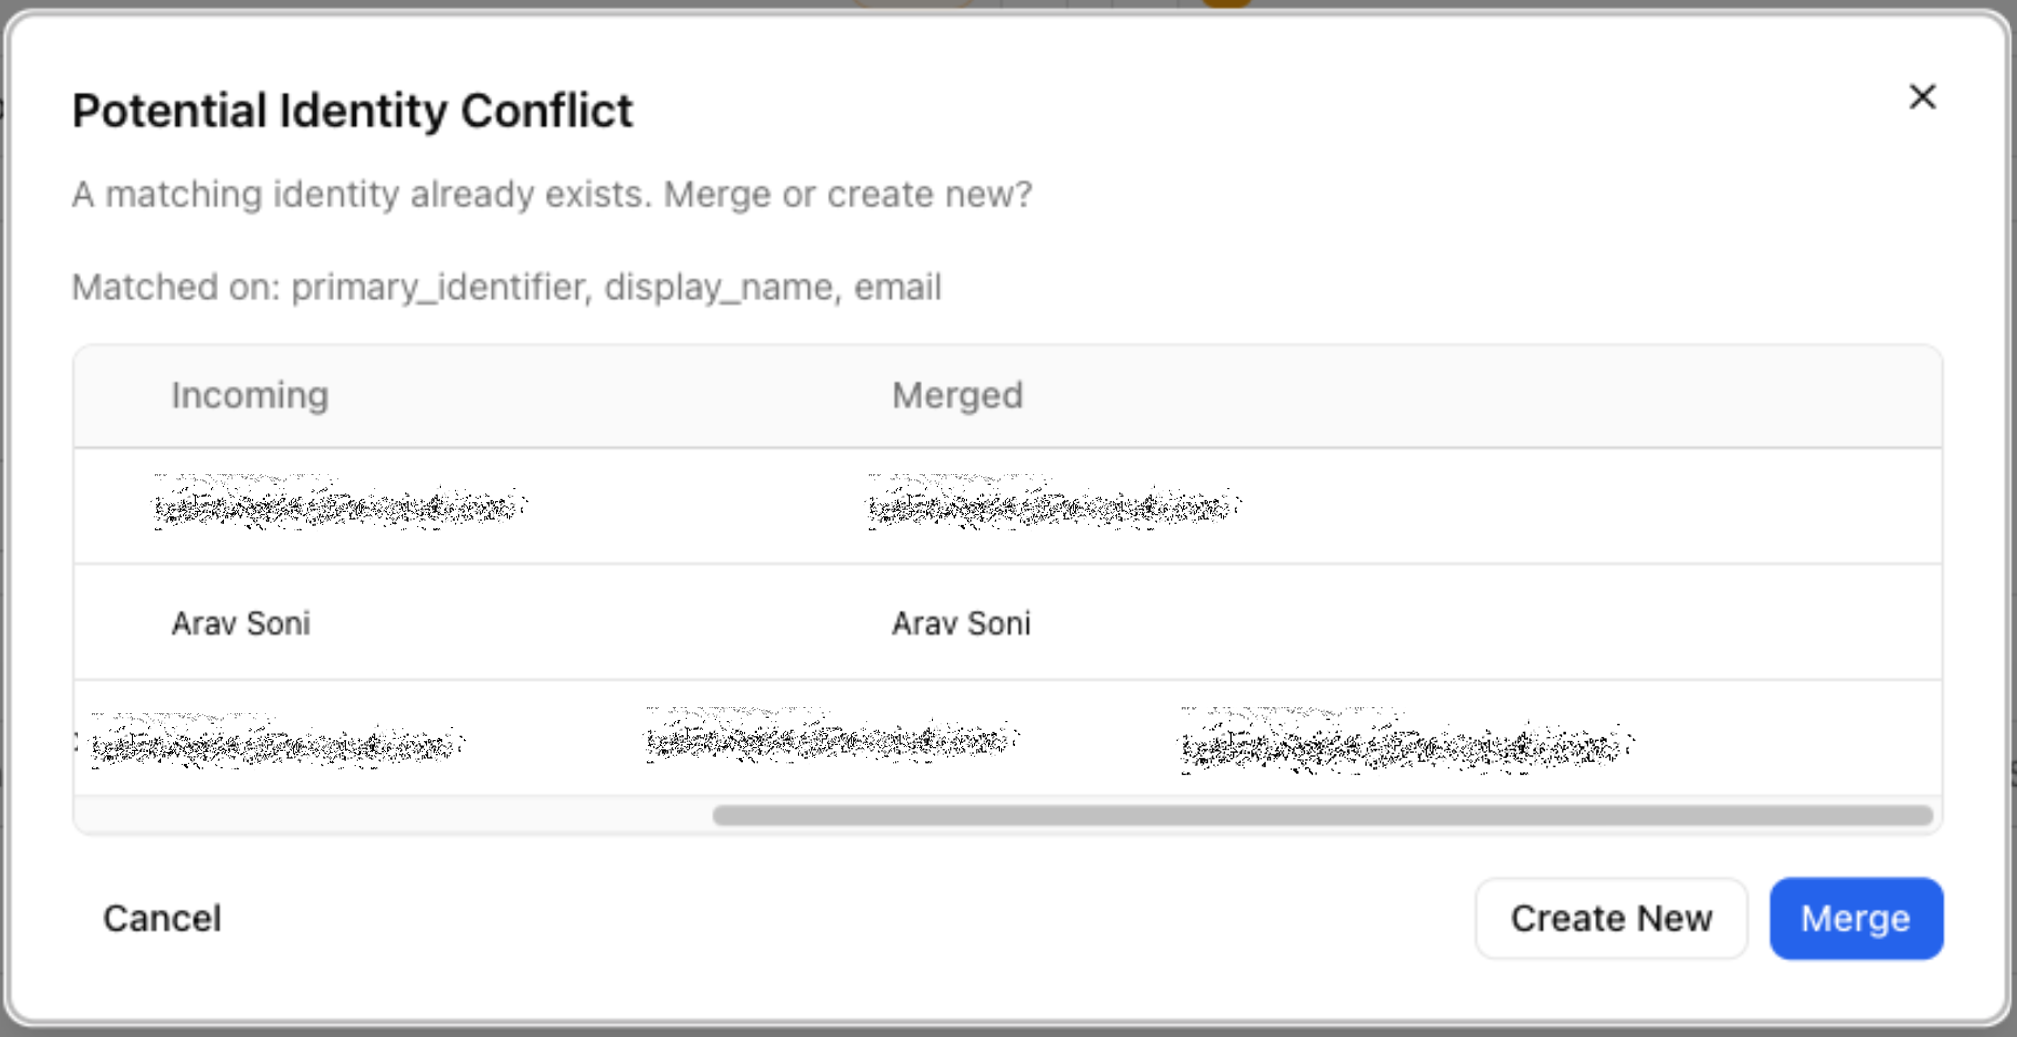
The dialog displays the Matched on: field that identifies the fields that triggered the conflict, for example, primary_identifier or email. It also includes a comparison table with three columns:
-
Existing: Values on the record already in the system.
-
Incoming: Values from the record you are adding.
-
Merged: Auto-resolved result of combining both records. For single-value fields such as Primary Identifier, the value of the existing record takes precedence. For multi-value fields such as Email(s), all unique values from both records are combined into a single list.
Choose one of the following actions:
-
Merge: Combines the two records into a single canonical identity. All unique identifier values from both records are preserved as aliases. The merge is logged in the history of the identity.
-
Create New: Creates the incoming record as a separate identity without merging, even though a potential duplicate exists.
-
Cancel: Closes the dialog and returns you to the form without creating any record.