Integrating with JIRA
The JIRA integration enables you to create and update JIRA tickets from the Investigations user interface within ThreatStream.
The following is an example of a JIRA ticket created through the integration:
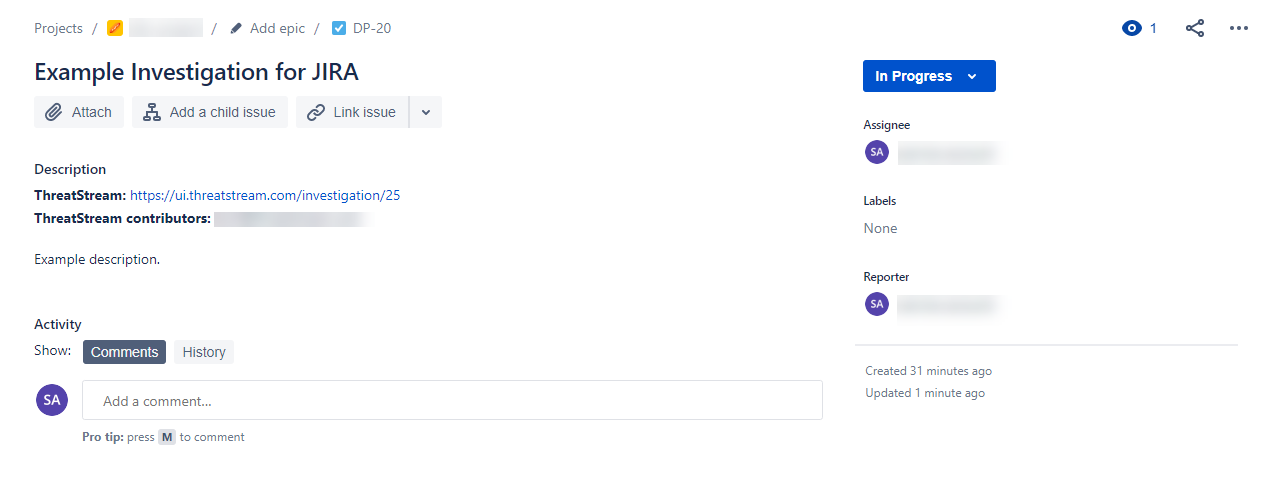
JIRA tickets are bidirectionally linked to the investigations from which they are created. The JIRA integration enables you to update JIRA tickets from ThreatStream without connecting to the JIRA user interface. Likewise, ticket status updates made within JIRA are reflected on investigations from which tickets were created.
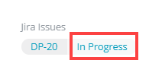
Linked JIRA tickets are listed under JIRA Issues in the investigation.
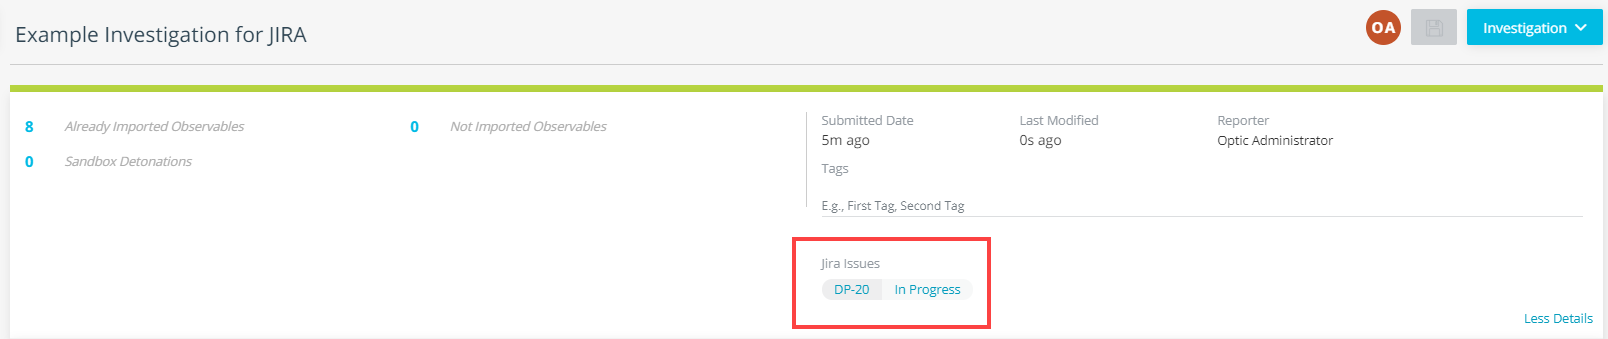
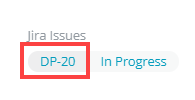
You can click the ticket number to view full ticket details in JIRA.
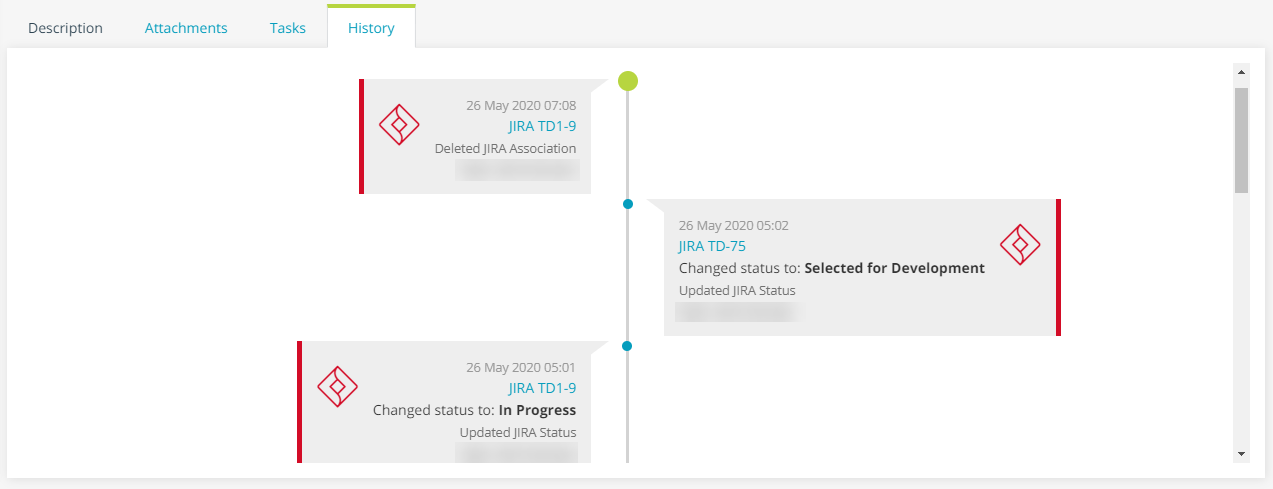
Additionally, JIRA integration activity is logged in the History section of the investigation.
For more information on using investigations in ThreatStream, see Investigating Threats in ThreatStream.
Creating JIRA Tickets from ThreatStream
JIRA tickets created through the JIRA integration reflect information from the investigation where ticket creation was executed. The table below lists the investigation fields from which content is pulled and the fields in JIRA to which they are mapped.
| Investigation Field | JIRA Field |
|---|---|
| Name | Summary |
| Tags |
Labels |
| Description |
Descriptions In addition to the content contained in the investigation descriptions, JIRA descriptions contain links to the investigation in ThreatStream and the email address of the user that created the ticket.
|
Additionally, the JIRA user whose account was used to activate the integration is made Reporter of resulting JIRA tickets.
To create a JIRA ticket from ThreatStream:
- Navigate to the investigation for which you want to create a JIRA ticket.
-
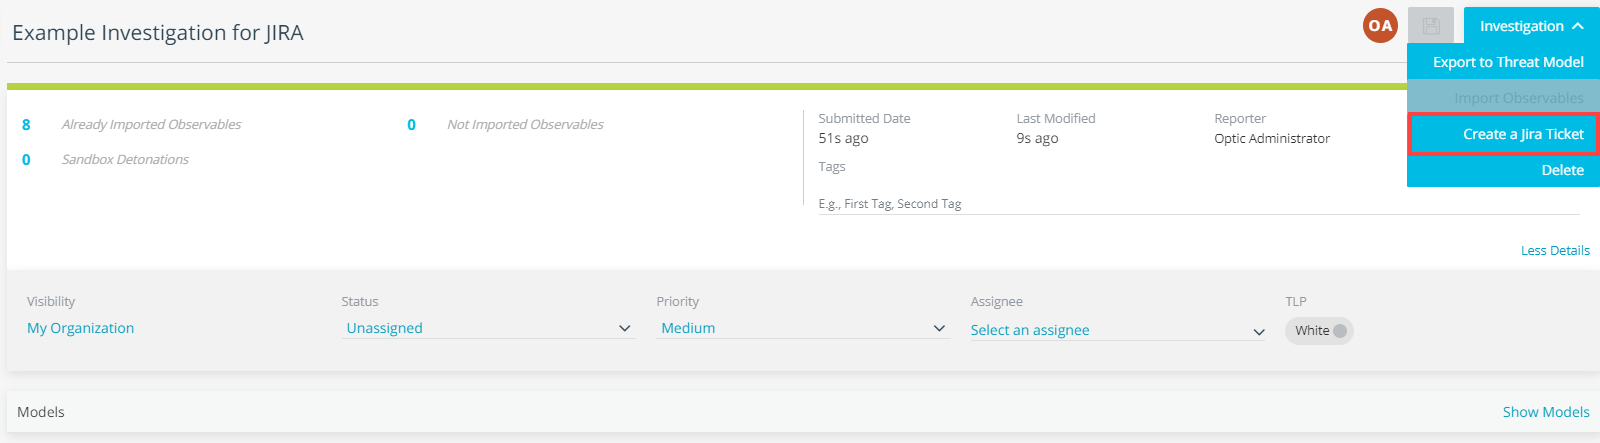
In the Actions menu, click Create a JIRA ticket.
-
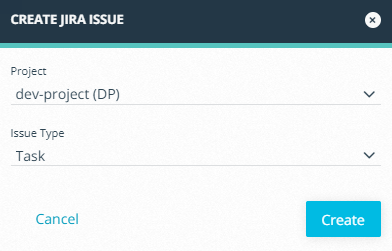
On the resulting window, the default JIRA Project and Issue Type settings are displayed. If desired, modify the settings.
- Click Create. The following message indicates that a JIRA ticket was created successfully:
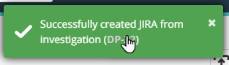
Click the ticket number under in the message to view the ticket in JIRA.
Updating JIRA Tickets from ThreatStream
From the investigation, you can update the JIRA Summary, Description, Labels, and Status. Updates to mapped fields within investigations are not automatically synchronized to linked JIRA tickets and must be manually pushed.
To update a linked JIRA ticket from an investigation:
- Navigate to the investigation of interest.
-
After making desired updates to the investigation Description, Name, or Tags, click the status of the JIRA ticket you want to update under JIRA Issues.
-
On the resulting window, select the JIRA fields you want to update. You can also select a new Status for the JIRA ticket.
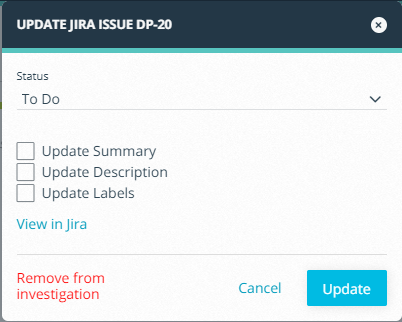
- Click Update.
Updates are immediately pushed to JIRA.
Removing JIRA Tickets from Investigations
The JIRA integration also allows you to unlink JIRA tickets and the investigations from which they were created. When you remove JIRA tickets from investigations, tickets are not deleted in JIRA. Rather, tickets are no longer displayed on investigations and updates can no longer be synchronized.
Only Org Admins and non admin users who created tickets can remove tickets from investigations.
To remove a JIRA ticket from an investigation:
- Navigate to the investigation of interest.
- Under JIRA Issues, click the JIRA ticket you want to remove.
- On the resulting window, click Remove from investigation.
The JIRA ticket is immediately removed from the investigation.
Activating the JIRA Integration
Activating the JIRA integration involves specifying your JIRA credentials and configuring default settings for tickets created through the integration.
To activate the JIRA integration:
-
In the bottom-left corner of the side navigation panel, click
 > ThreatStream and then click Integrations.
 -
Click Set Up in the JIRA box. Information on the integration is displayed.
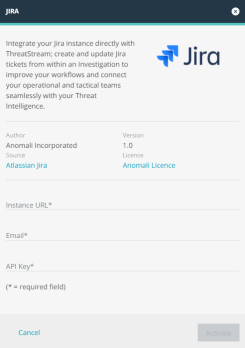
You can click the Source link to visit the JIRA website. Under License, Anomali license indicates that the enrichment was developed by Anomali and therefore subject to its terms of service.
-
To proceed with activation, enter the following information:
Field Description Instance URL URL of the JIRA instance used by your organization.
Example: https://mycompany.atlassian.net
Email Email address associated with the JIRA account you want to use for activation.
The user associated with this email address is listed as the Reporter for all JIRA tickets created through the integration.API Key API key associated with the account whose email you specified.
For information on obtaining your API key, see https://support.atlassian.com/statuspage/docs/create-and-manage-api-keys/
-
Click Activate.
403 errors indicate that there was an issue with the API key you entered. Verify your API key and try again. -
After activation, select a Default project and Default issue type for tickets created through the integration.
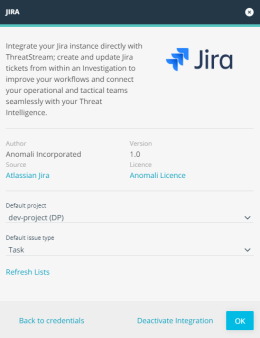
- Click OK.
The integration is active and ready for use.