Managing Integrations
You can apply the following actions to your configured integrations:
These actions can be applied via the View Configurations setting:
-
From the All tab of the Integrations Marketplace
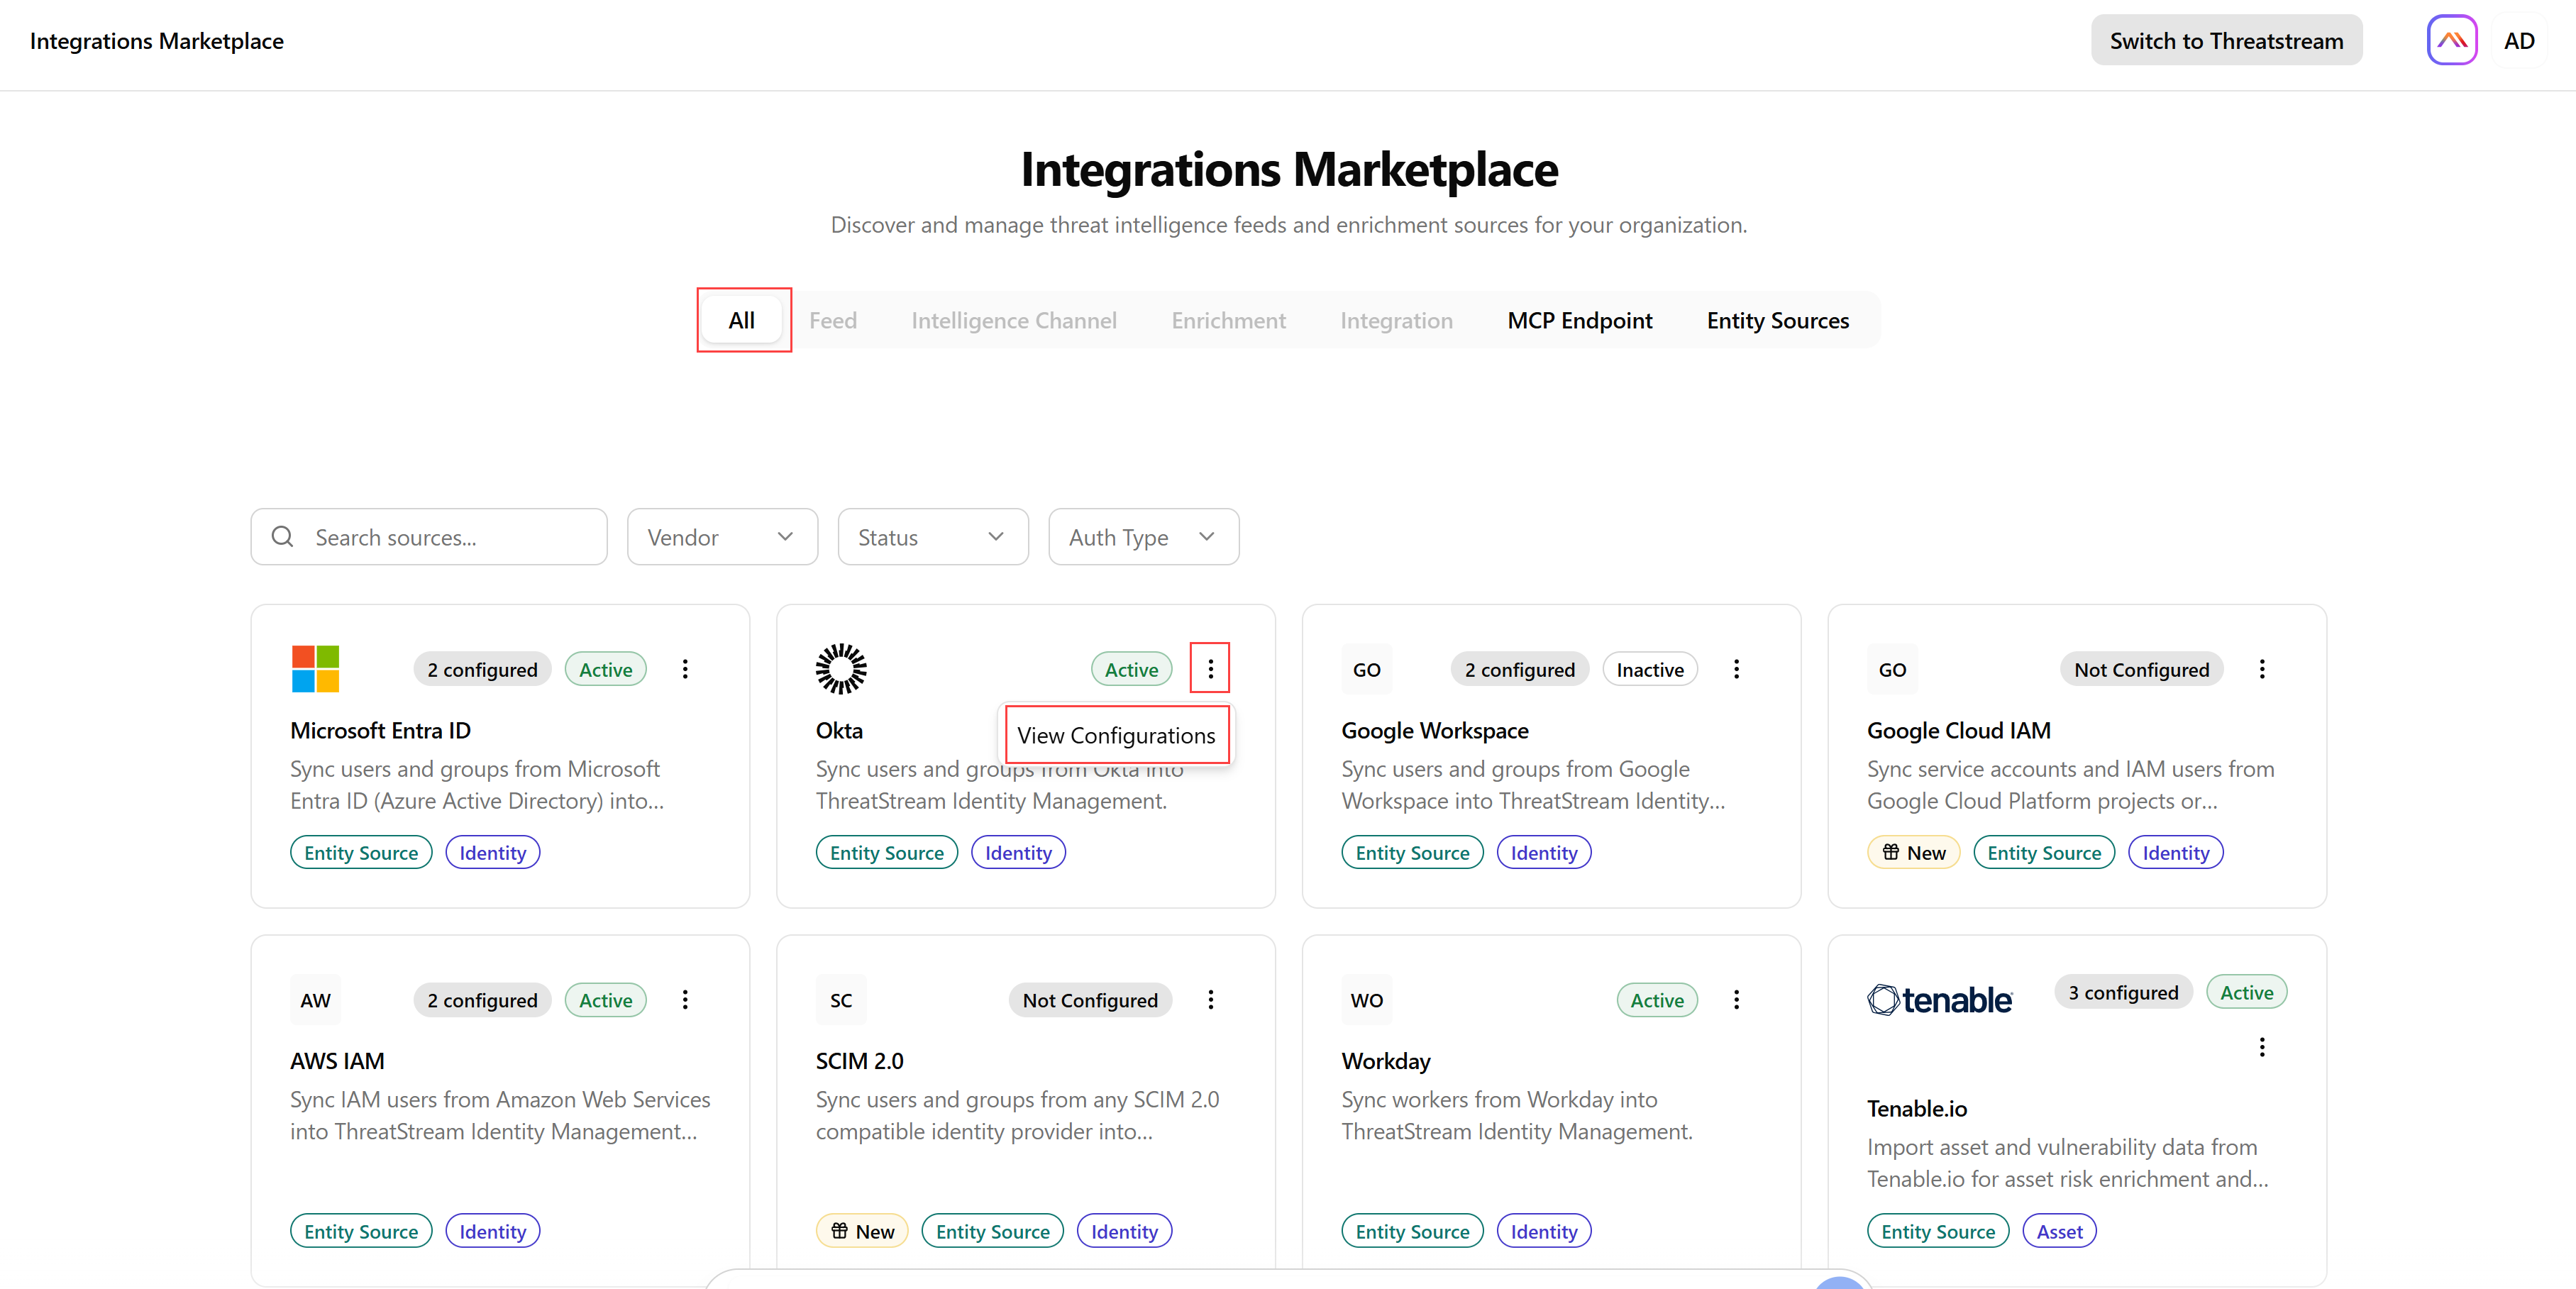
-
From the table view of an integration category
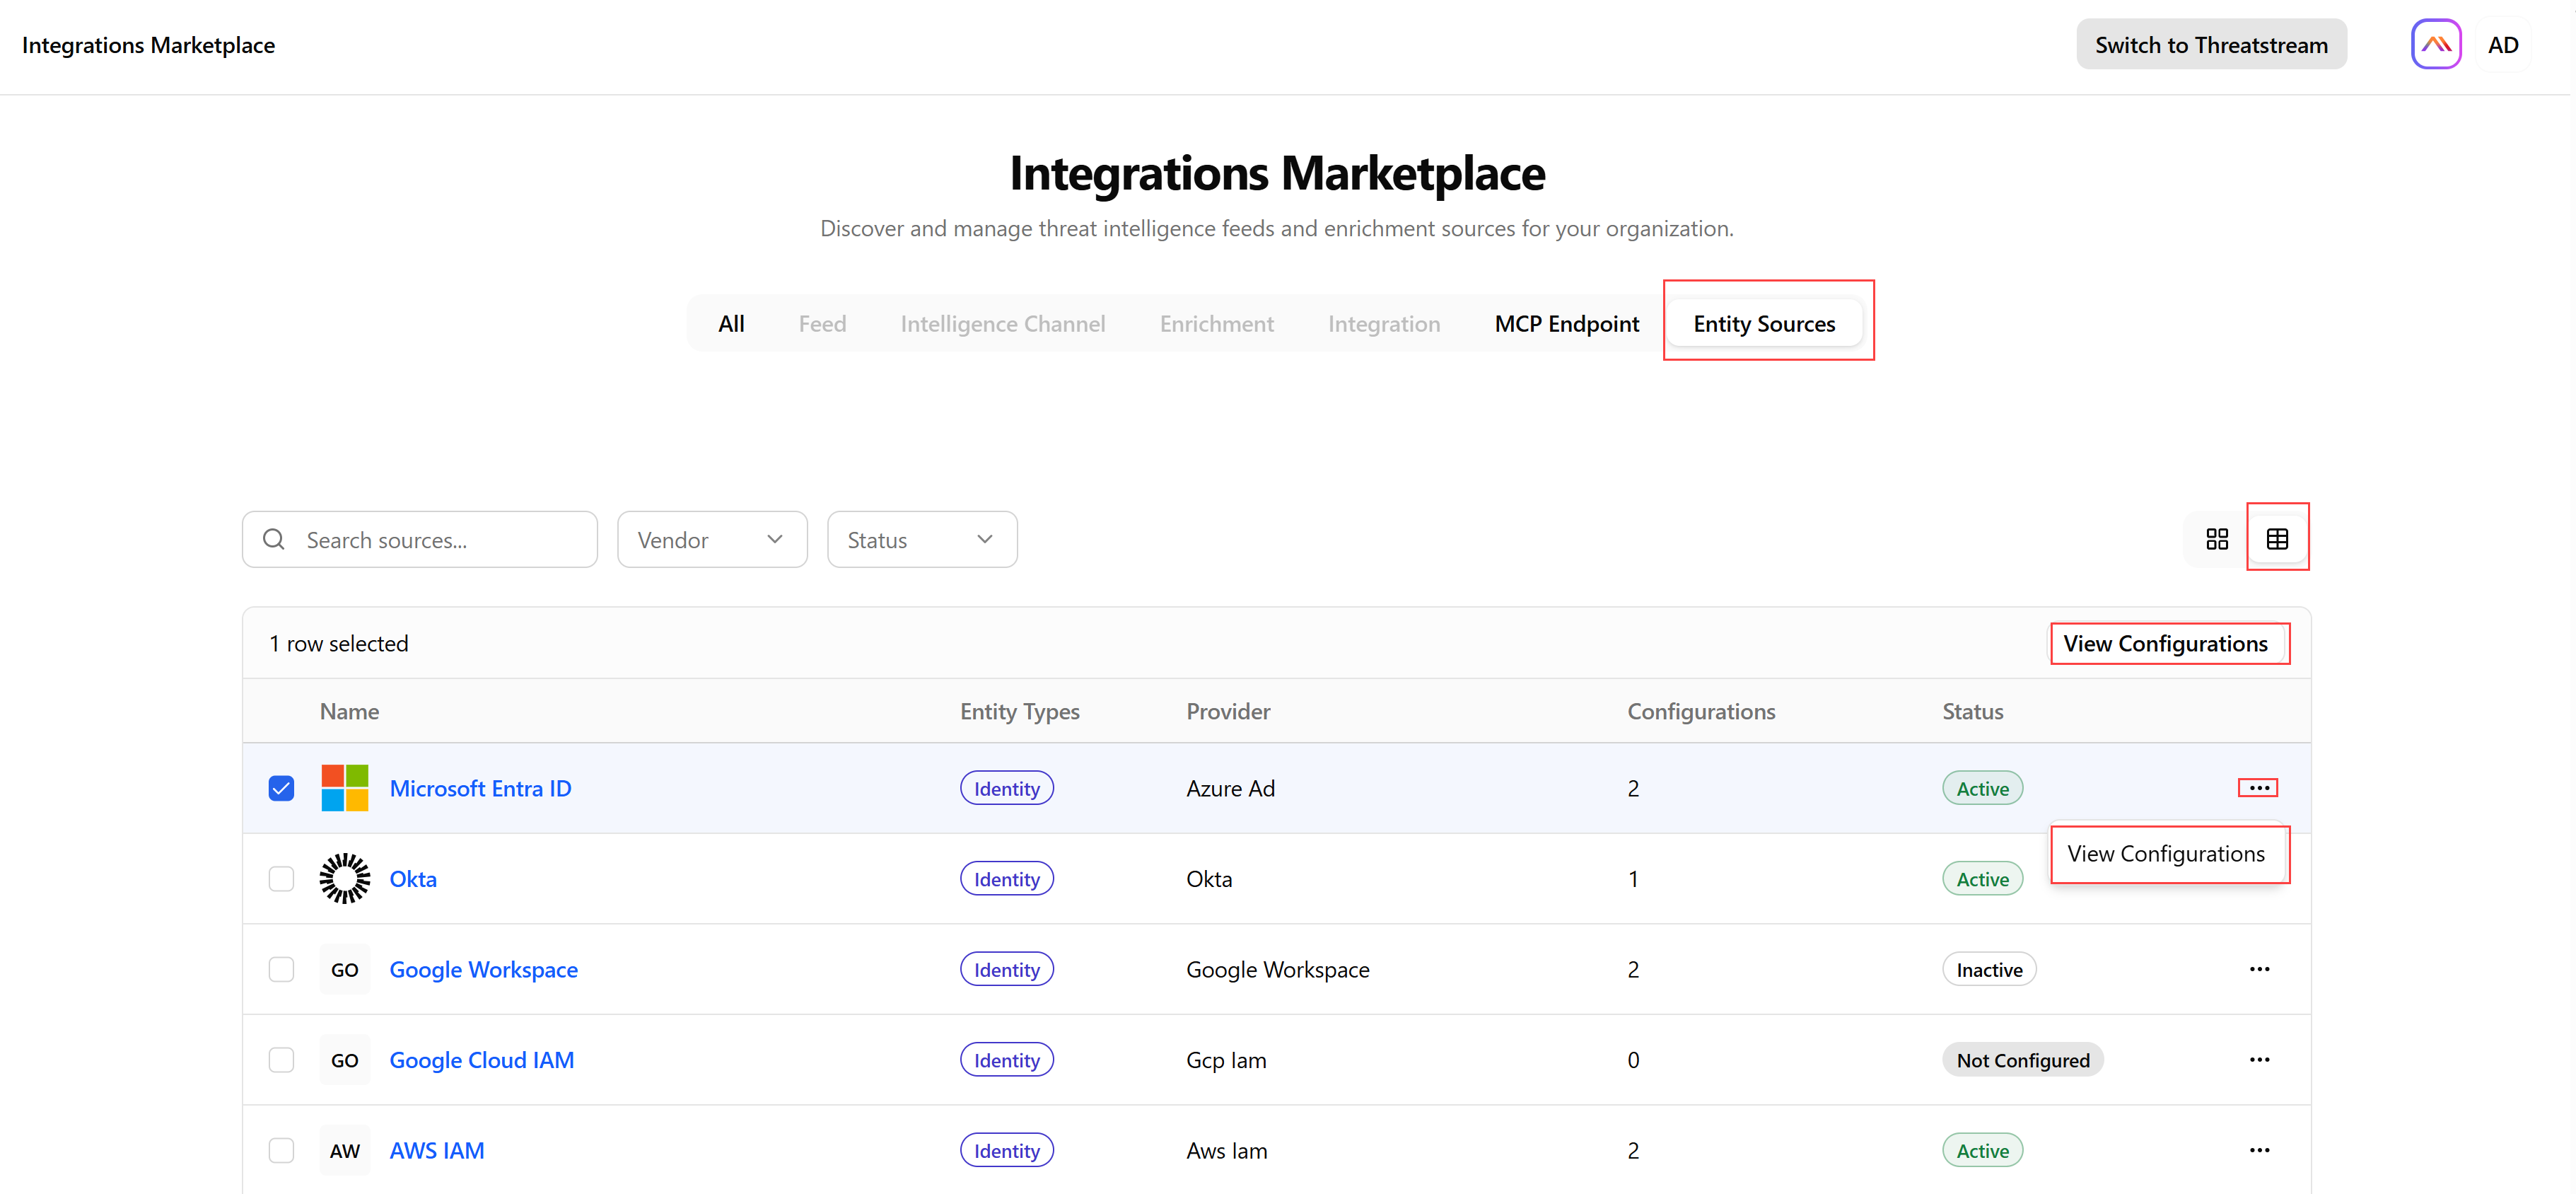
Manually Syncing Integrations
Although ThreatStream Next Gen syncs data automatically on your chosen schedule, there are times when you may need to trigger a sync manually. For example, after a configuration change, a connection interruption, or a significant organizational event such as a large-scale onboarding or offboarding, a manual sync ensures your entity inventory reflects the latest data right away without waiting for the next scheduled cycle.
To manually sync an active integration:
-
Navigate to Navigate to ThreatStream Next Gen > Integrations Marketplace.
-
Locate the integration that you want to manually sync.
-
Click the vertical more options menu (
 ) and then click View Configurations.
 -
Click the horizontal more options menu (
 ) of the configuration you want to sync, and then click Sync now.
The message Sync triggered for <integration_name> is displayed.
Editing Integrations
After setting up an integration, you can update its configuration at any time.
To edit an integration:
-
Navigate to Navigate to ThreatStream Next Gen > Integrations Marketplace.
-
Locate the integration you want to edit.
-
Click the vertical more options menu (
) and then click View Configurations. -
Click the horizontal more options menu (
) of the configuration you want to edit, and then click Edit. -
Configure the integration fields.
-
Click Save Changes.
The integration configuration is updated.
Deactivating Integrations
If you need to pause an entity source without removing its configuration, you can temporarily deactivate it. This stops ThreatStream Next Gen from syncing data from that source until you reactivate it, while keeping all your settings intact so you can resume without having to reconfigure the integration from scratch.
To deactivate an integration:
-
Navigate to Navigate to ThreatStream Next Gen > Integrations Marketplace.
-
Locate the integration you want to deactivate.
-
Click the vertical more options menu (
) and then click View Configurations. -
Click the horizontal more options menu (
) of the configuration you want to deactivate, and then click Deactivate.The message <integration_name> deactivated successfully is displayed.
Activating Integrations
To resume importing entity data from a deactivated integration, you need to activate. Once activated, ThreatStream Next Gen resumes syncing data from that source automatically based on the sync frequency you configure.
To activate an integration:
-
Navigate to Navigate to ThreatStream Next Gen > Integrations Marketplace.
-
Locate the integration you want to activate.
-
Click the vertical more options menu (
) and then click View Configurations. -
Click the horizontal more options menu (
) of the configuration you want to activate, and then click Activate.The message <integration_name> activated successfully is displayed.
Deleting Integration Configurations
If you no longer need an integration configuration, you can permanently delete it. Unlike deactivation, deleting a configuration removes its configuration entirely, so you will need to set it up from scratch if you want to reconnect that source in the future.
To delete an integration:
-
Navigate to Navigate to ThreatStream Next Gen > Integrations Marketplace.
-
Locate the integration you want to delete.
-
Click the vertical more options menu (
) and then click View Configurations. -
Click the horizontal more options menu (
) of the configuration you want to delete, and then click Delete. -
In the confirmation message, click Delete.
The configuration is deleted. However, data imported by this source remains in the system.